Building a Cloud-Powered Static Website: A Step-by-Step Guide
cloud resume challenge
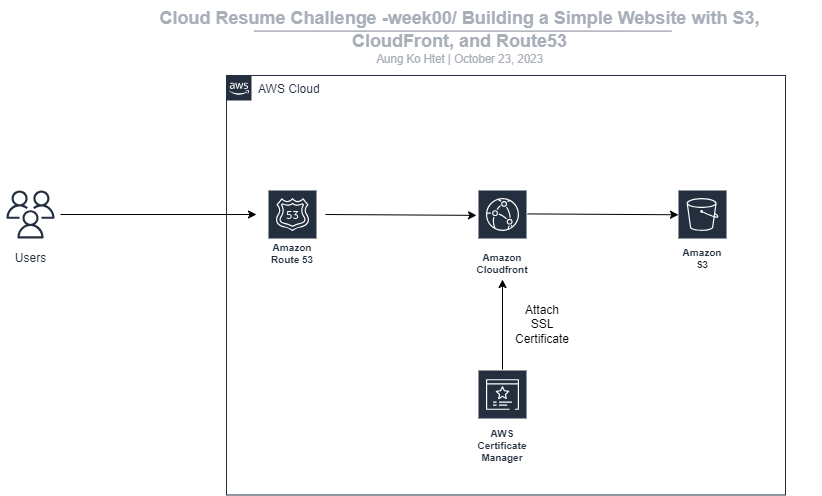
In today’s competitive job market, a well-crafted resume is essential, but it’s no longer just about words. Employers now seek hands-on experience with modern technology, particularly cloud computing. To help you demonstrate these skills, we introduce the Cloud Resume Challenge, a practical project series. In this article, we’ll guide you through the first part of the challenge, where you’ll build a static website hosted on Amazon S3, optimize content delivery with CloudFront, and set up a custom domain using Route53 DNS.
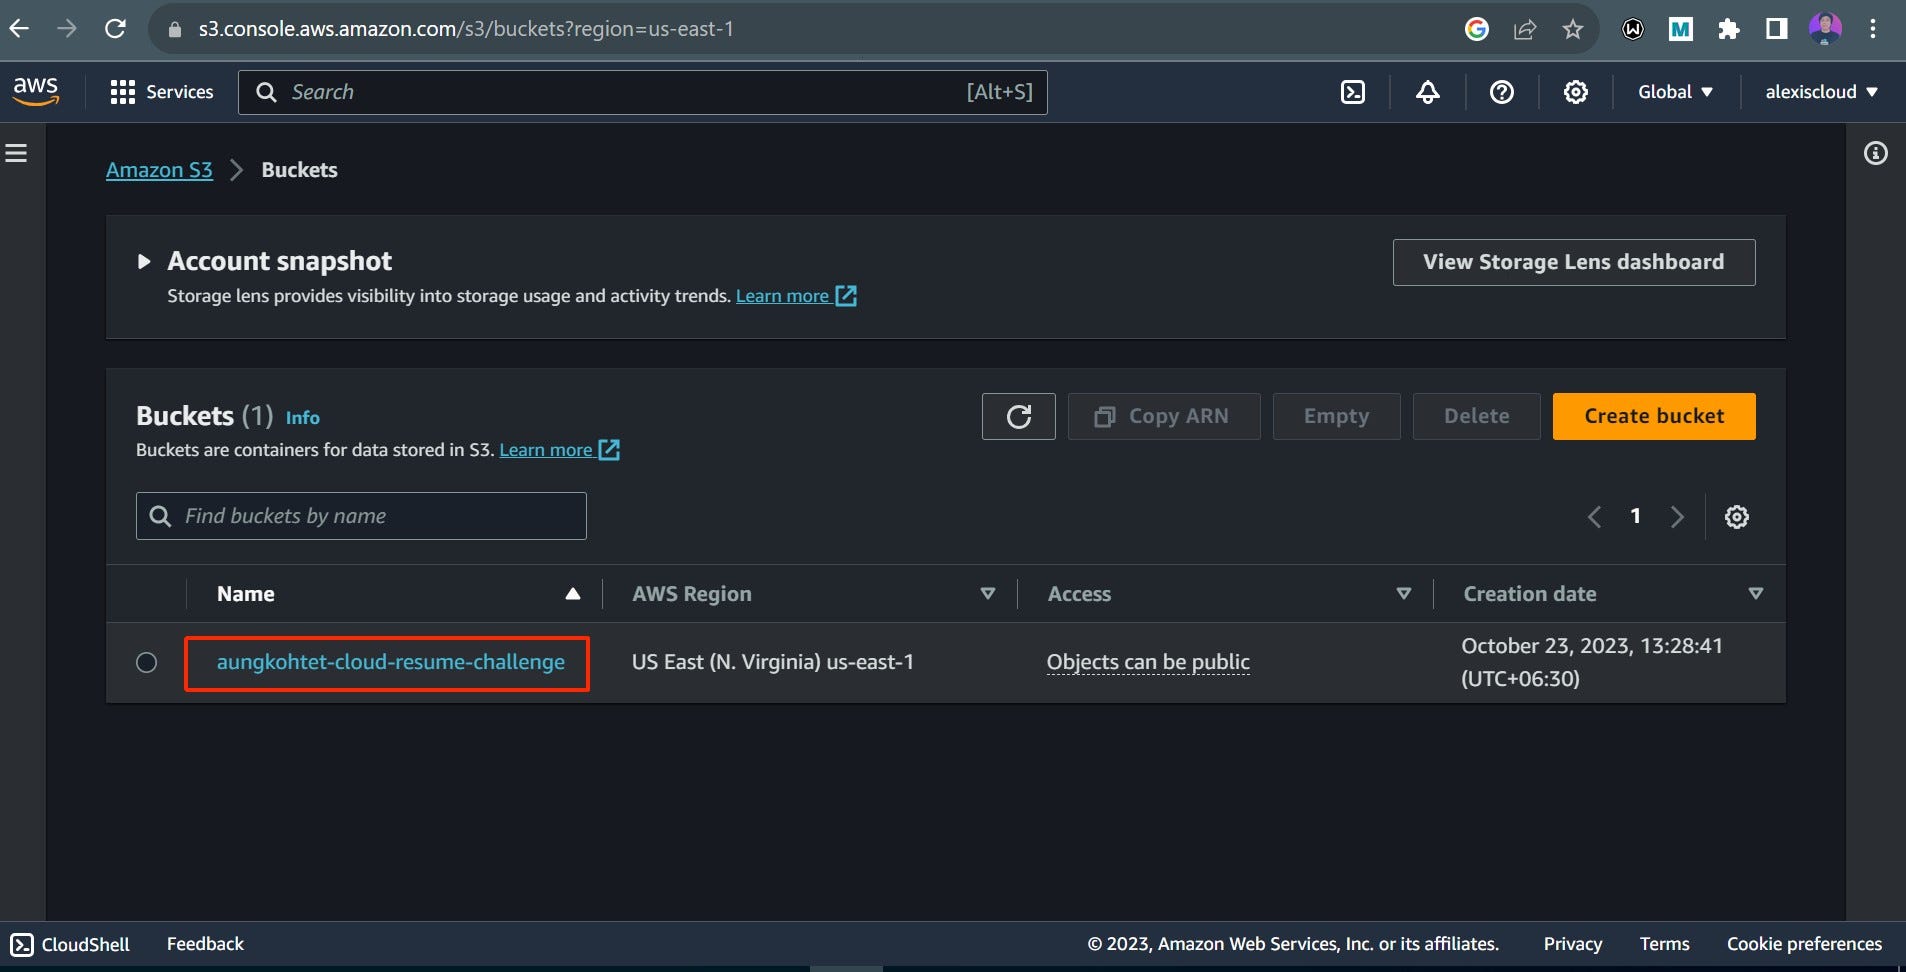
Step 1: Setting up an S3 Bucket
Amazon S3 is our storage solution. Go to the Amazon S3 console.
Click “Create Bucket.”
Give your bucket a unique name, choose a region, and use default settings.
Click “Create” to create your S3 bucket.
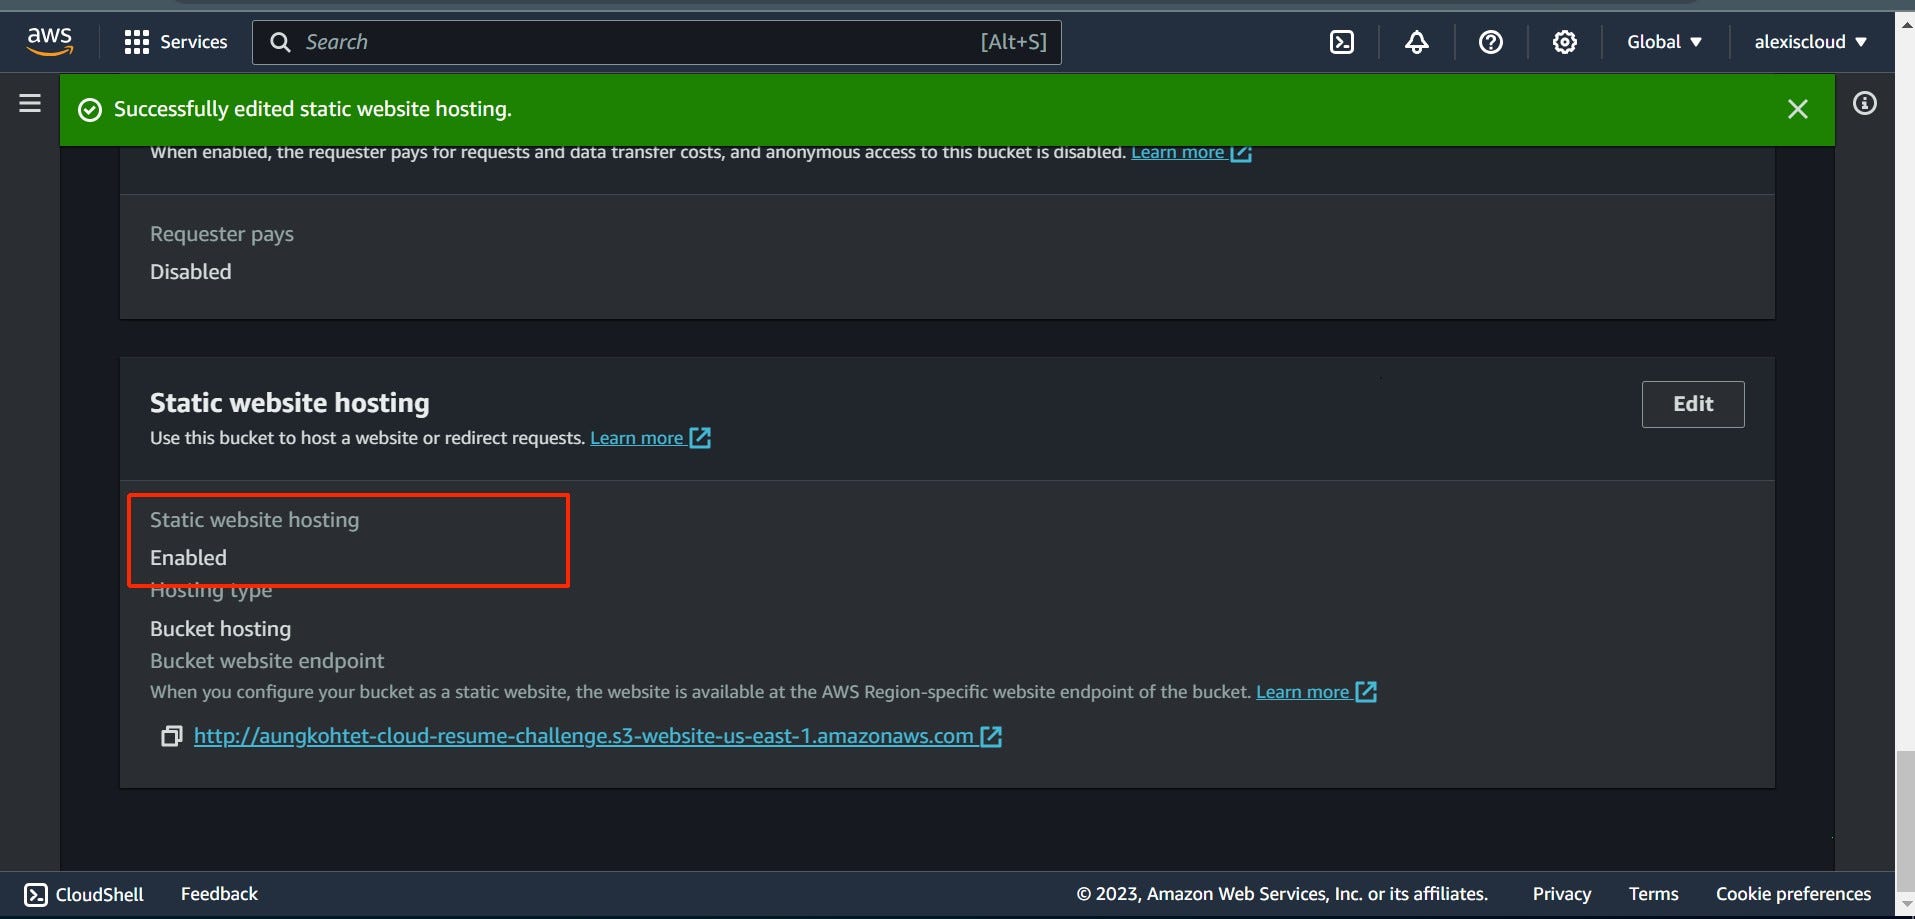
enable static website hosting

Create a policy
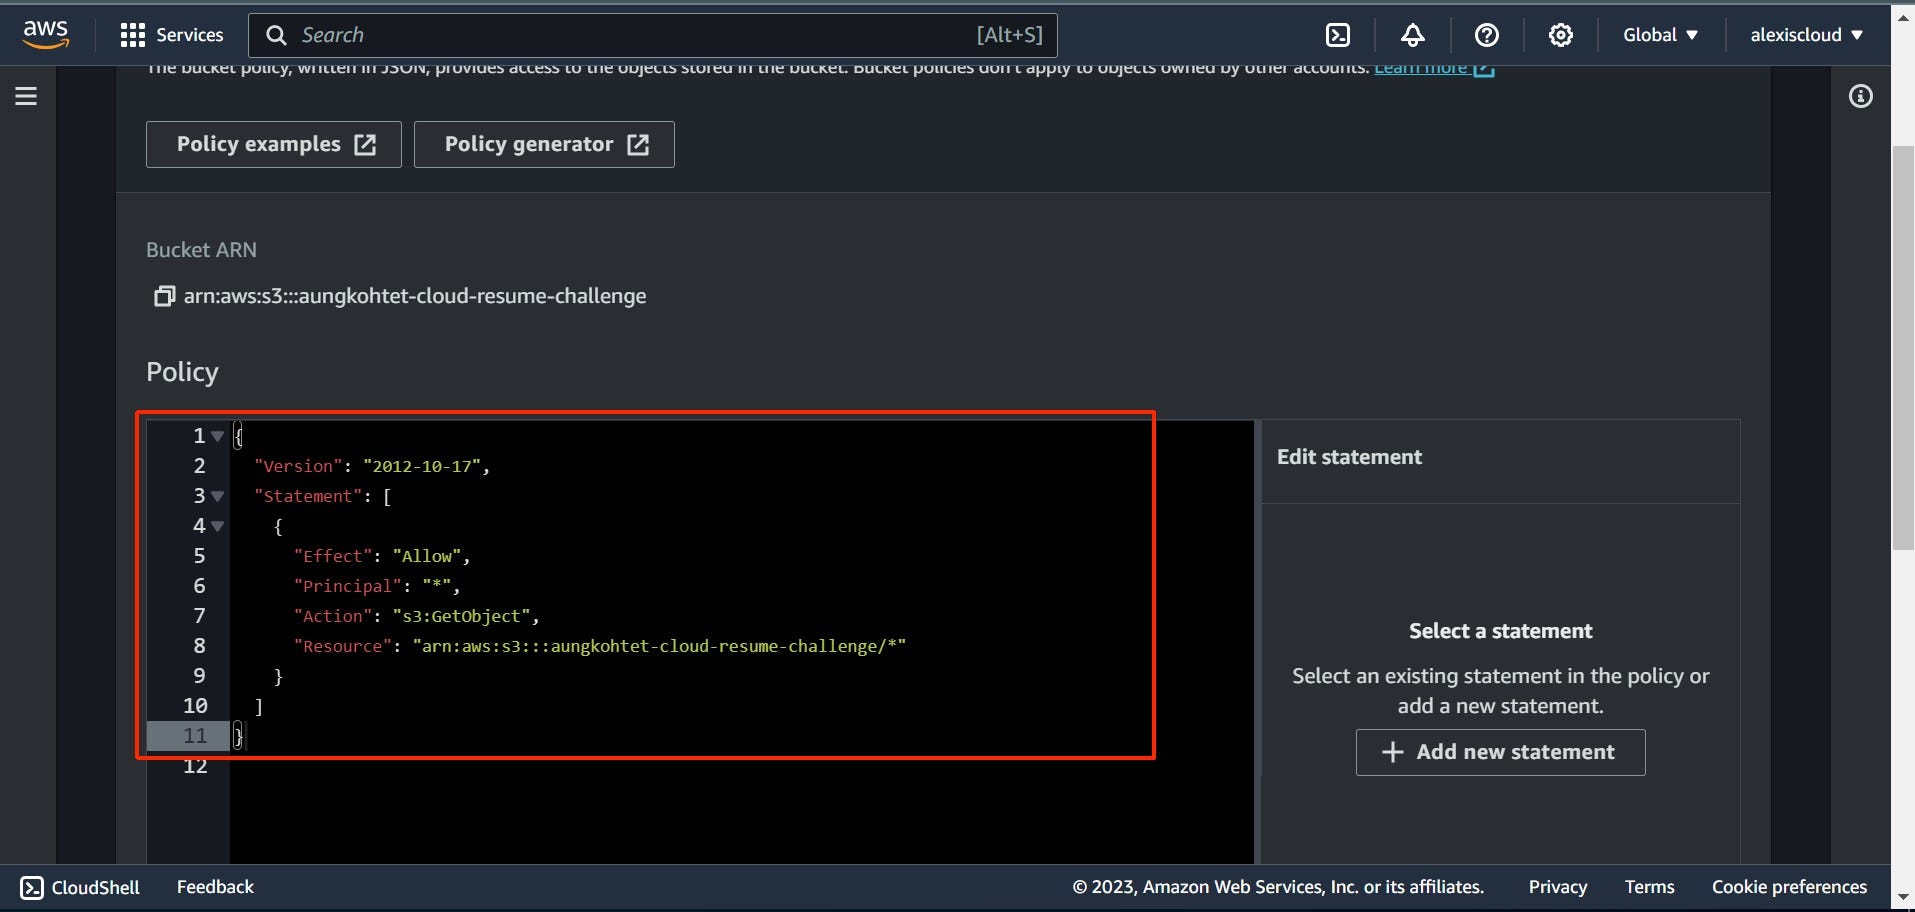
{
        "Version": "2012-10-17",
        "Statement": [
            {
                "Effect": "Allow",
                "Principal": "*",
                "Action": "s3:GetObject",
                "Resource": "arn:aws:s3:::aungkohtet-cloud-resume-challenge/*"
            }
        ]
    }
Step 2: Uploading Your Website Files to S3
- With your S3 bucket ready, it’s time to upload your website files. You can do this by dragging and dropping files in the S3 console or by using the AWS CLI.
Step 3: Implementing CloudFront for Faster Delivery
CloudFront, a content delivery network (CDN), speeds up content delivery by caching it globally.
Open the AWS Management Console and go to the CloudFront dashboard.
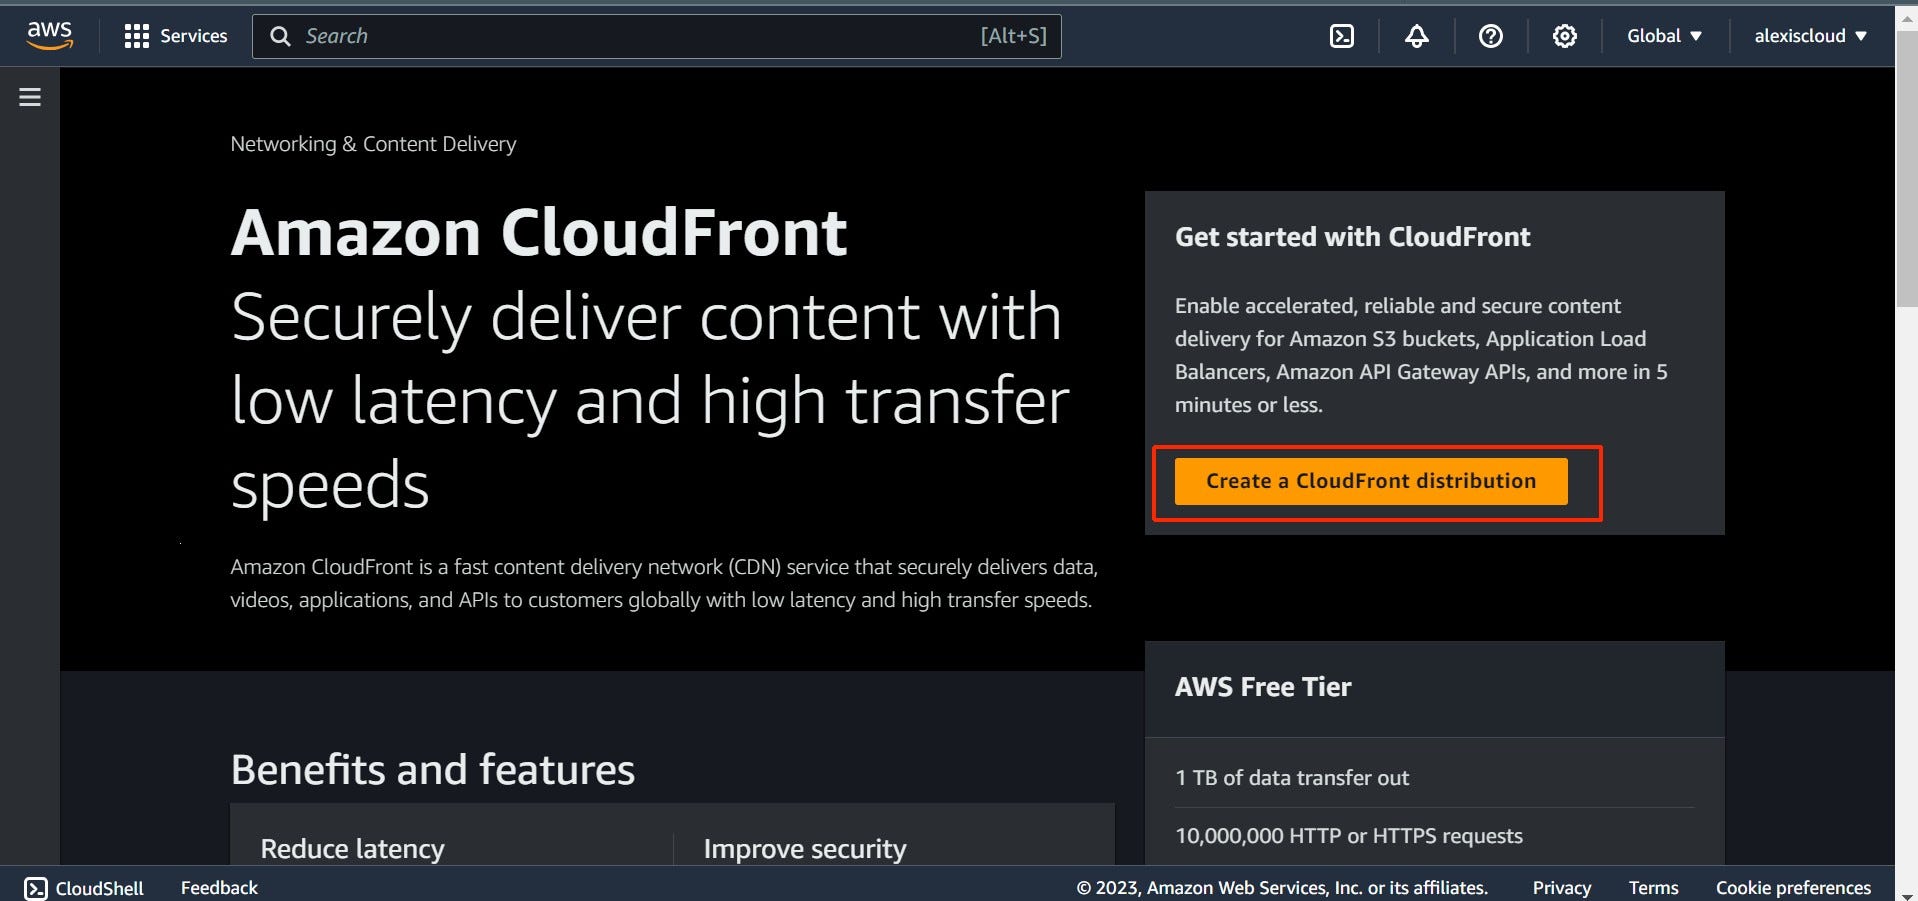
Click “Create Distribution.”
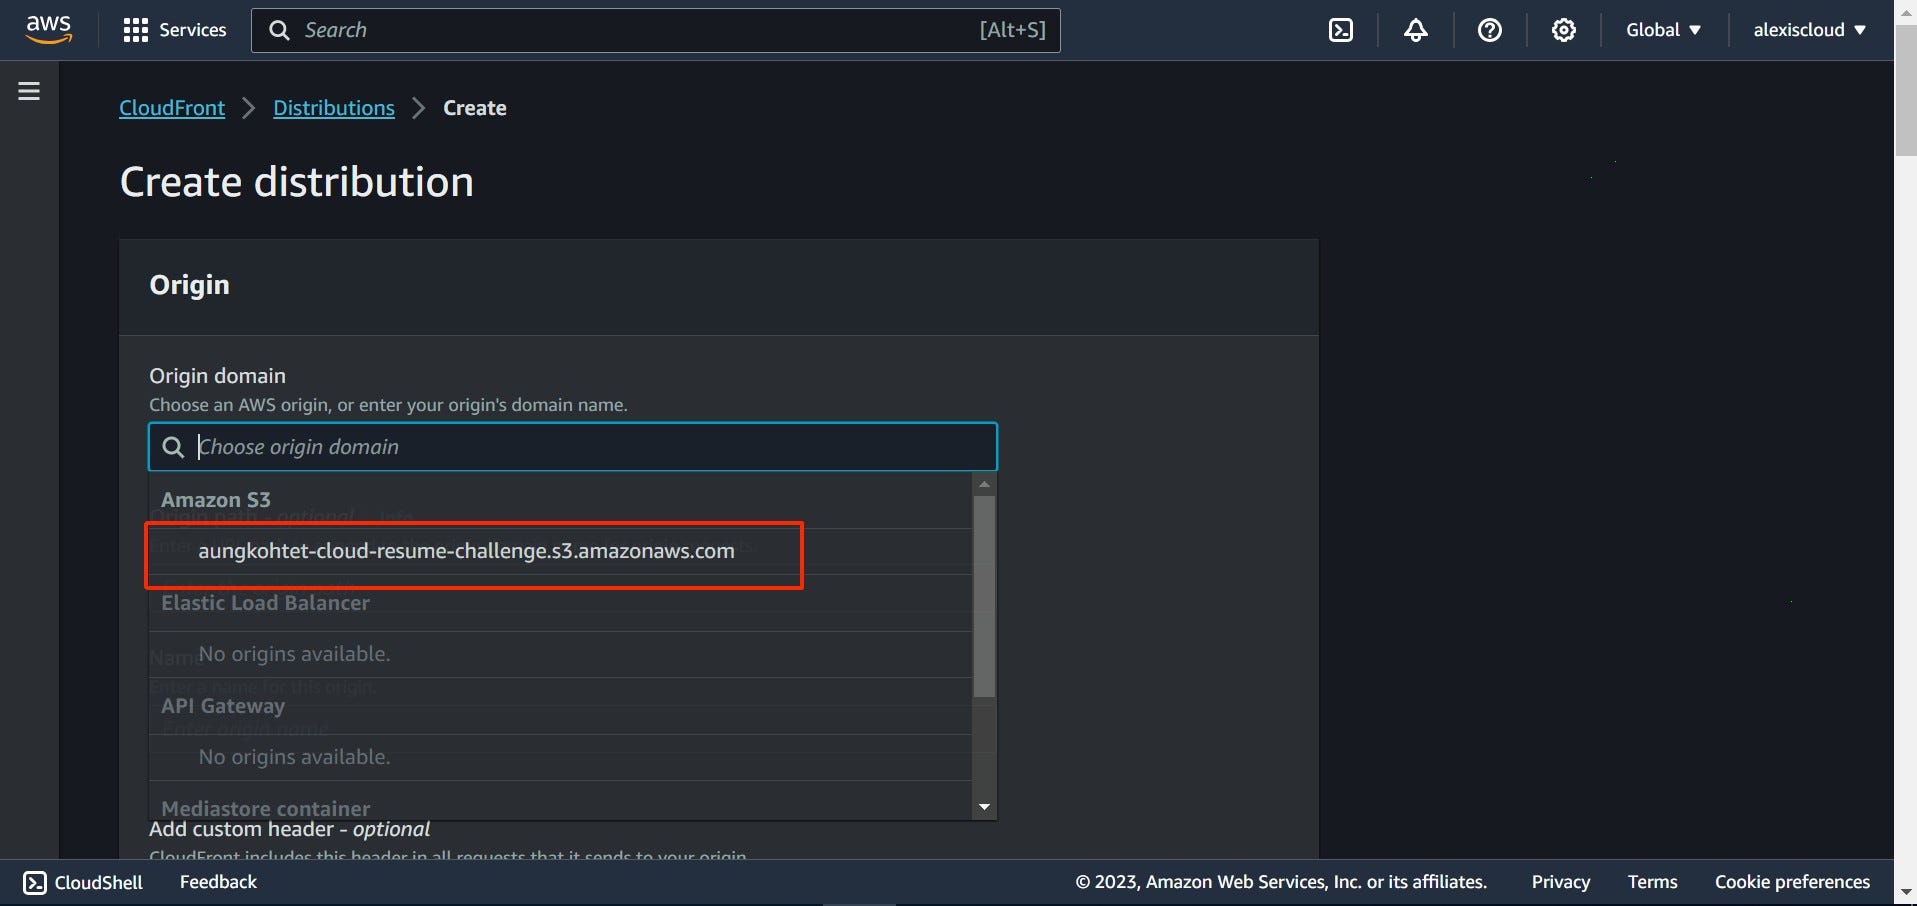
Choose your S3 bucket as the origin.
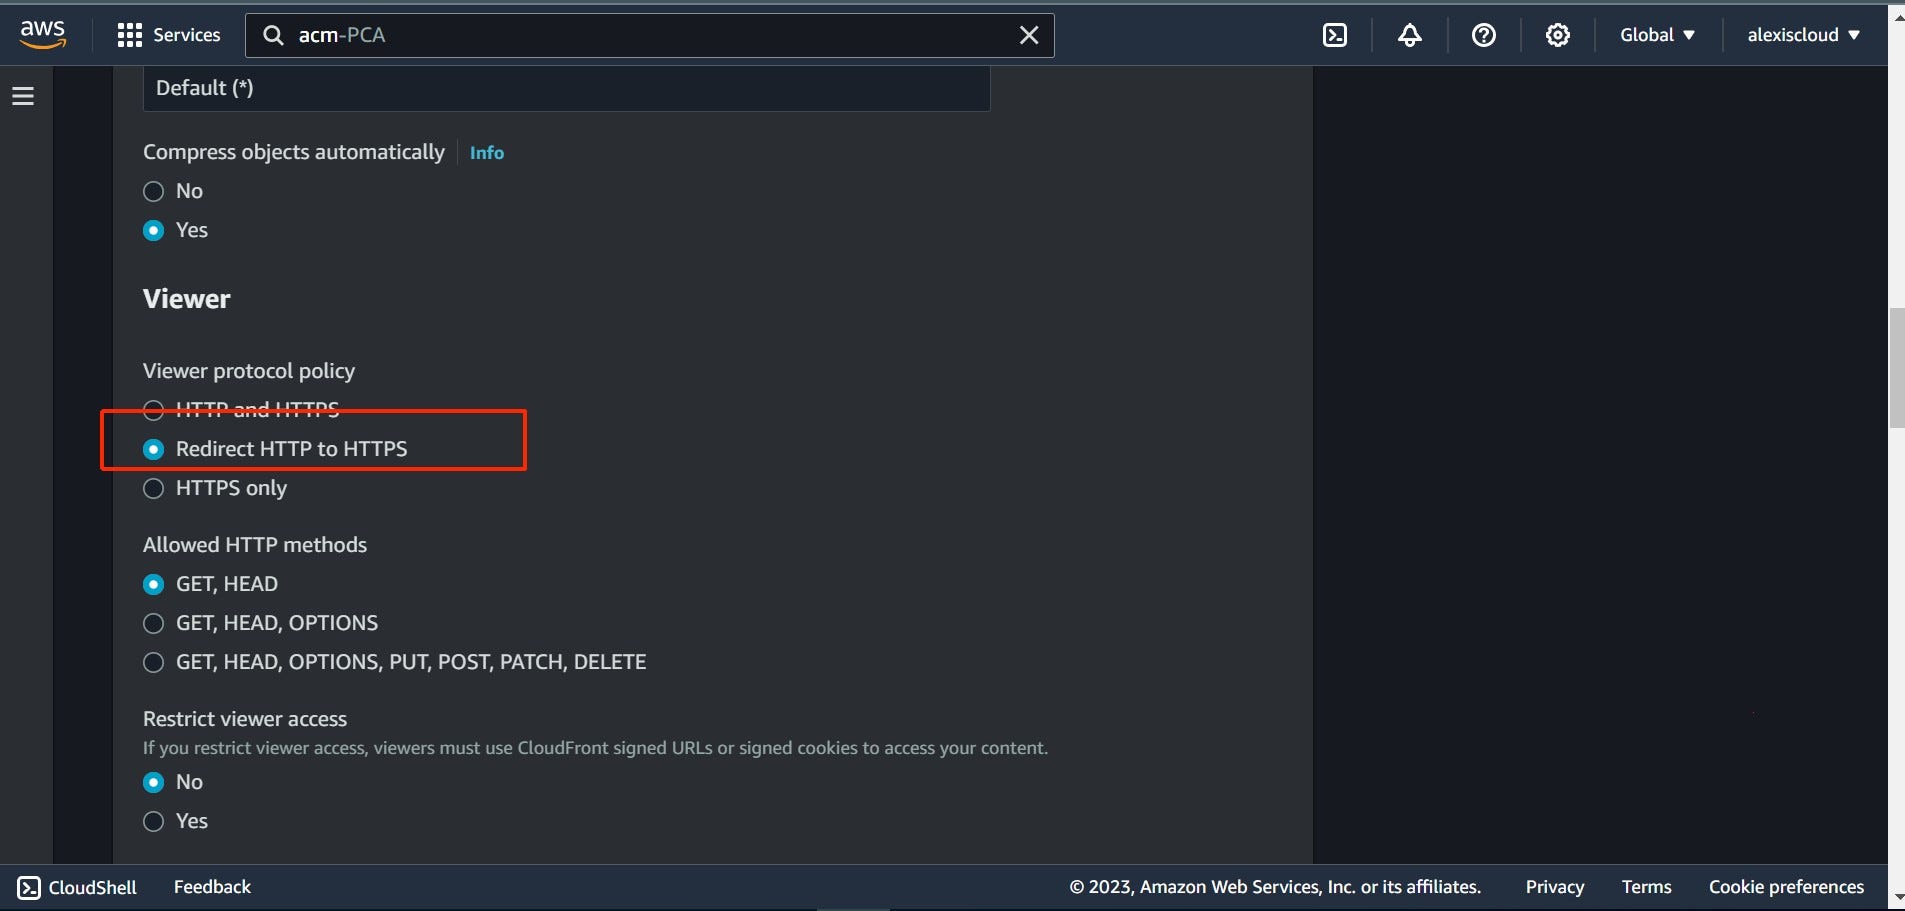
Configure other options as needed.
Click “Create Distribution.”

Note: Repeat these steps for both “alexiscloud.tech” and “blog.alexiscloud.tech” domain names if you have them.
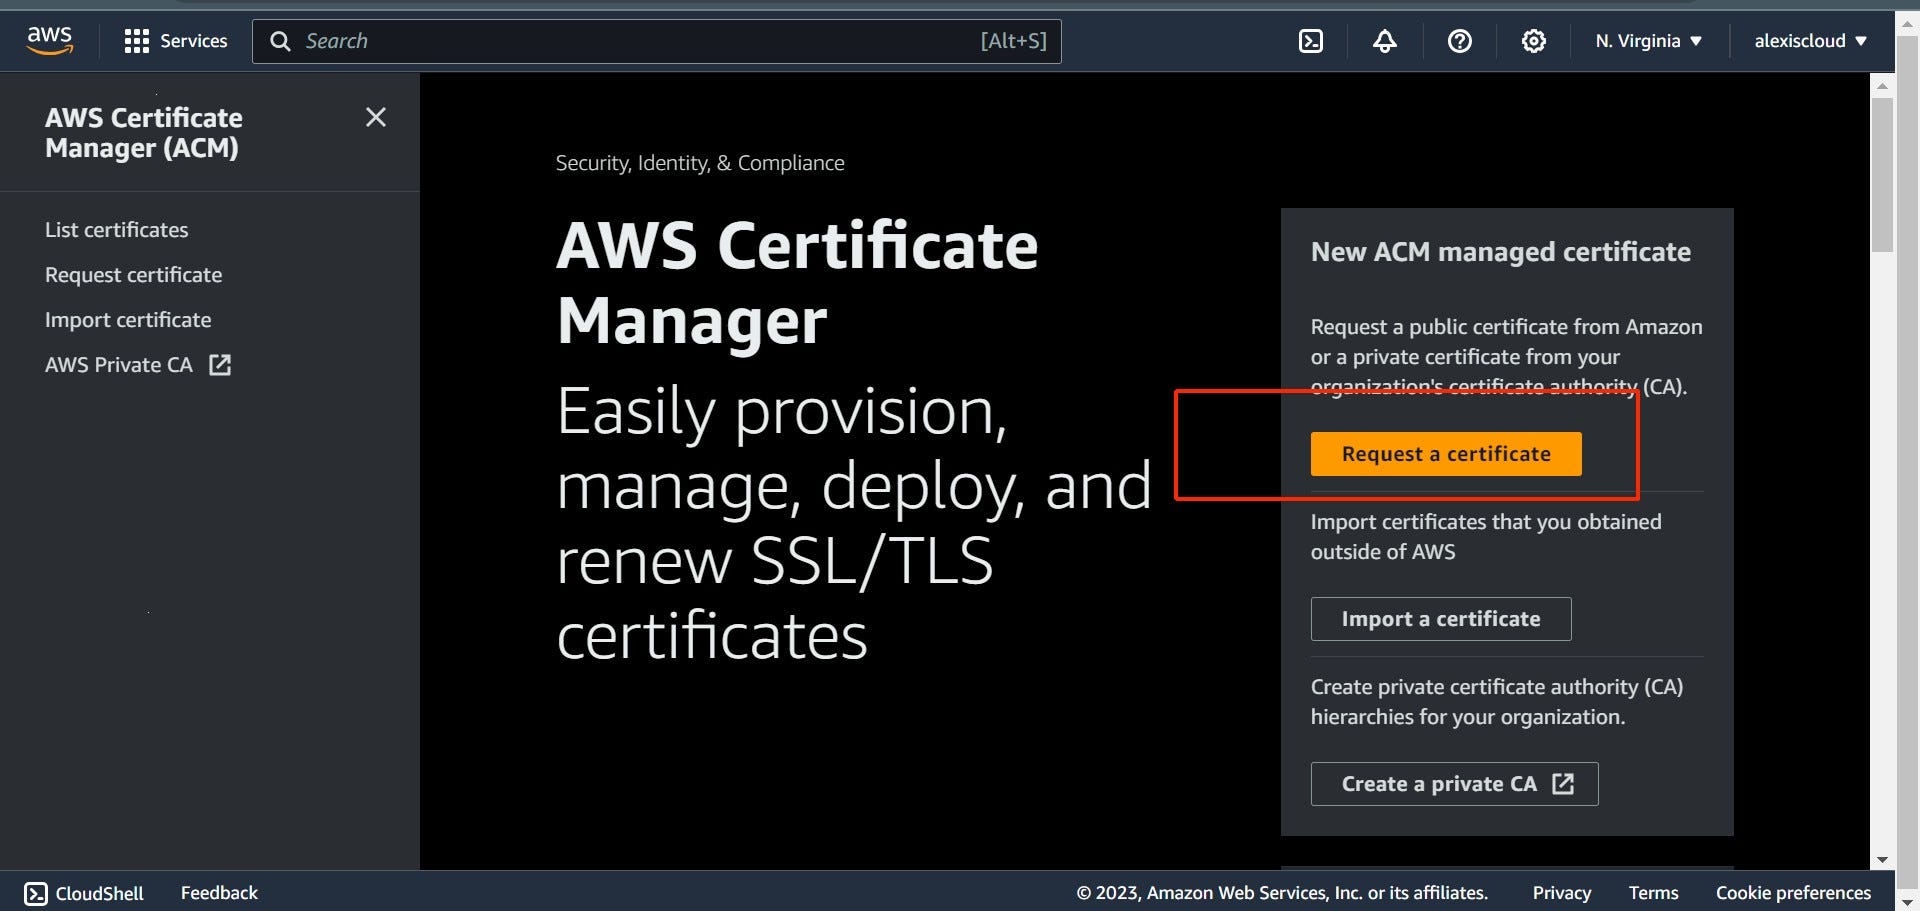
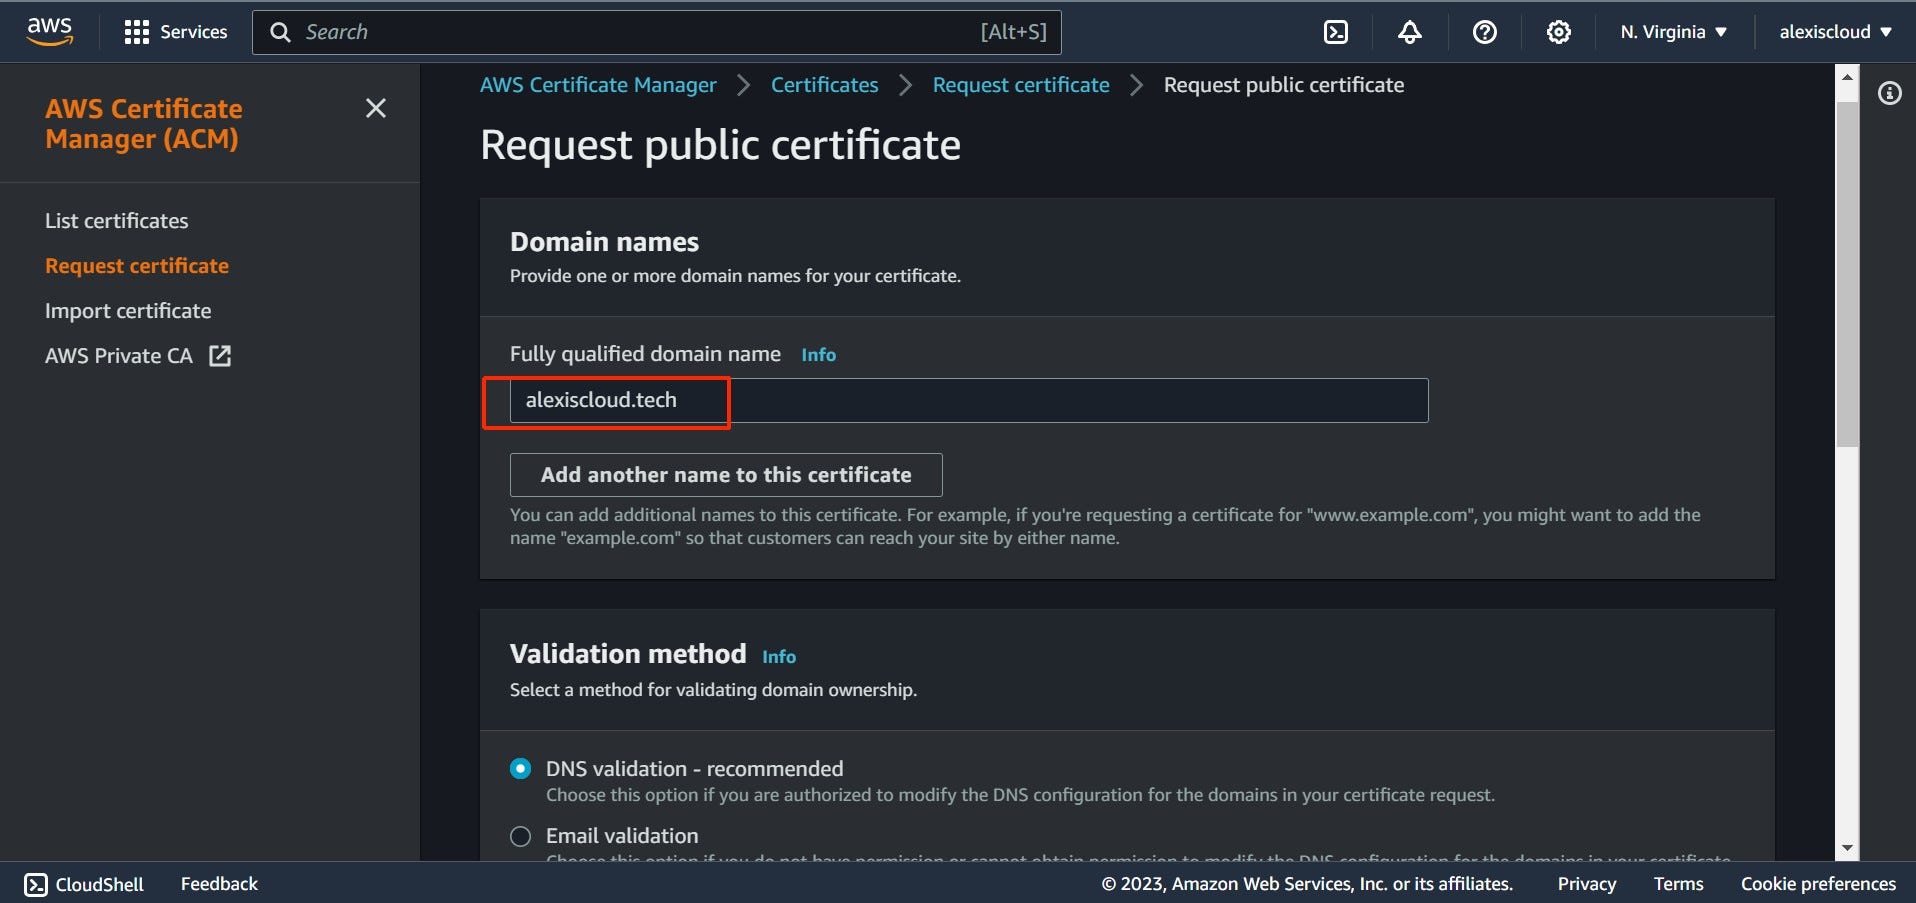
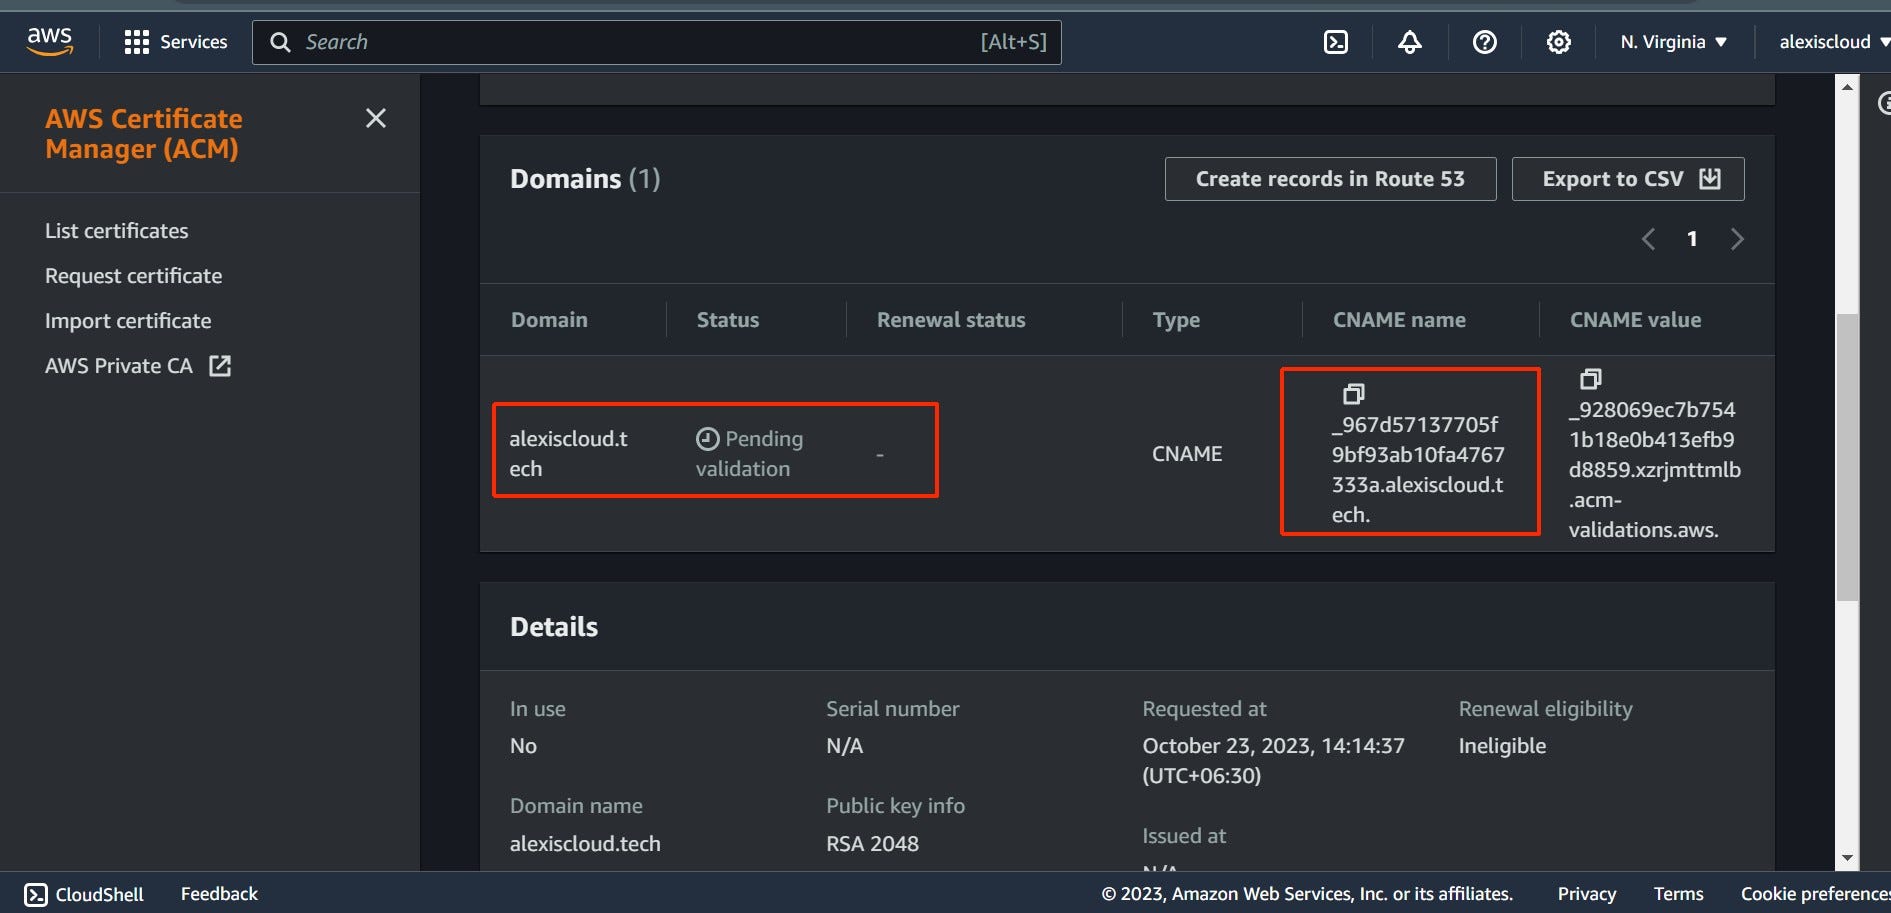
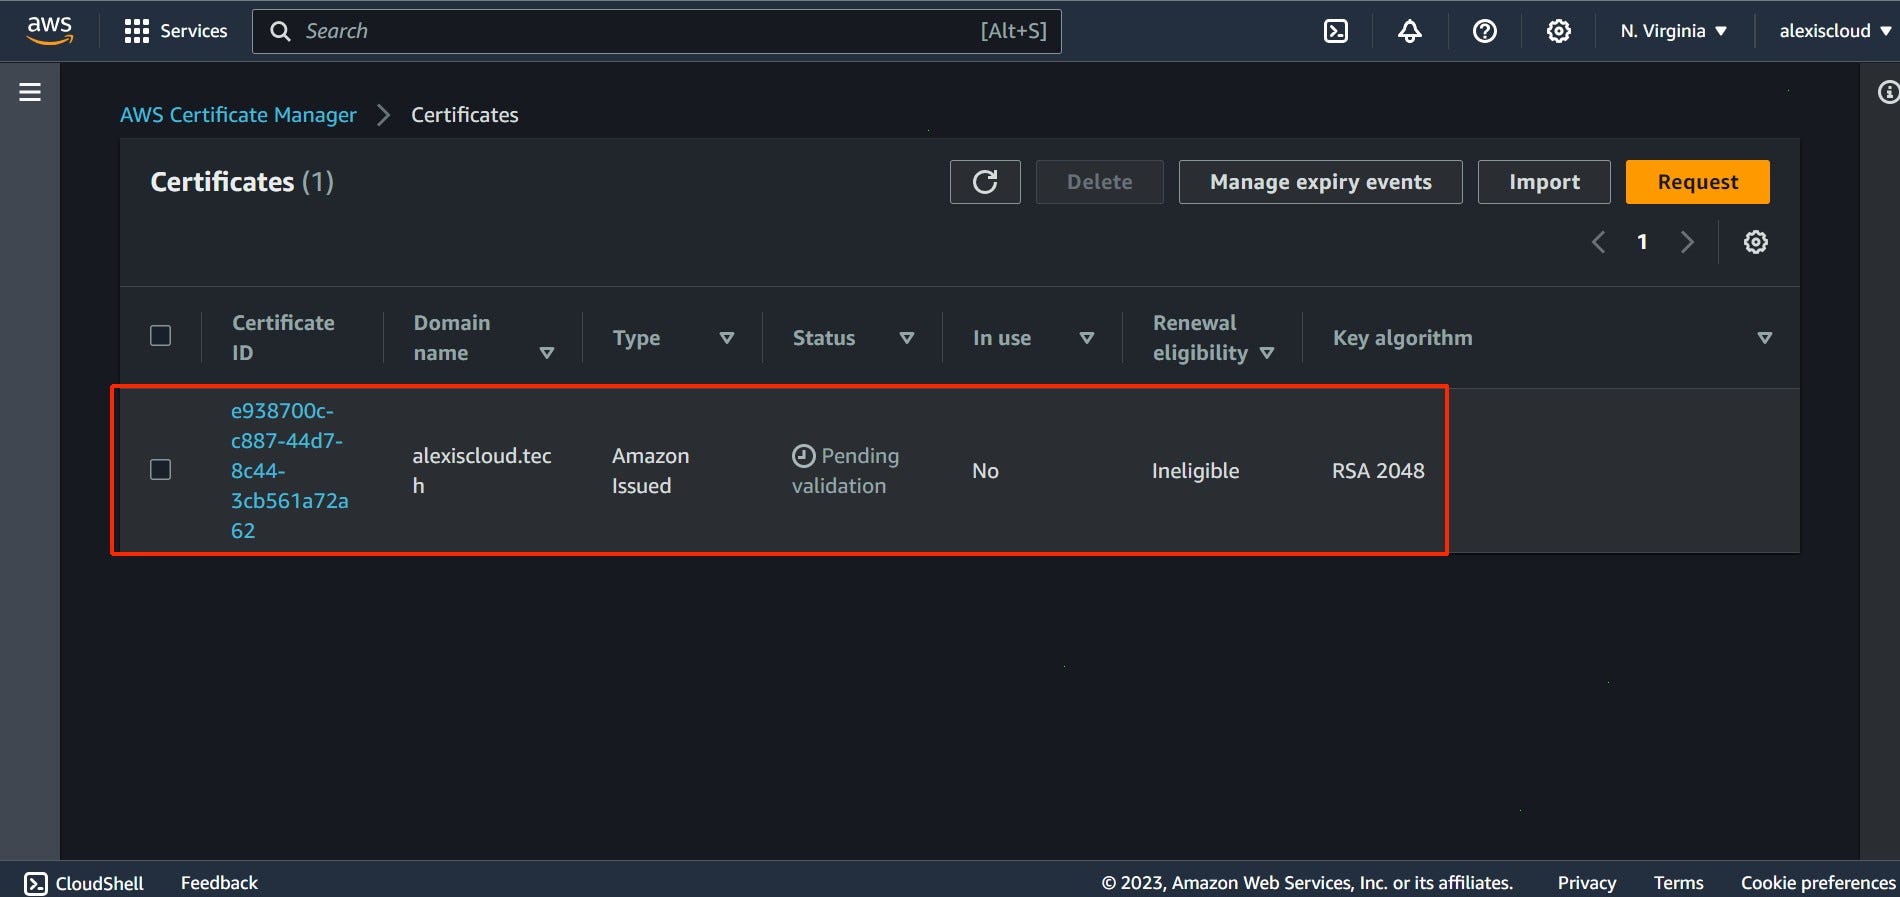
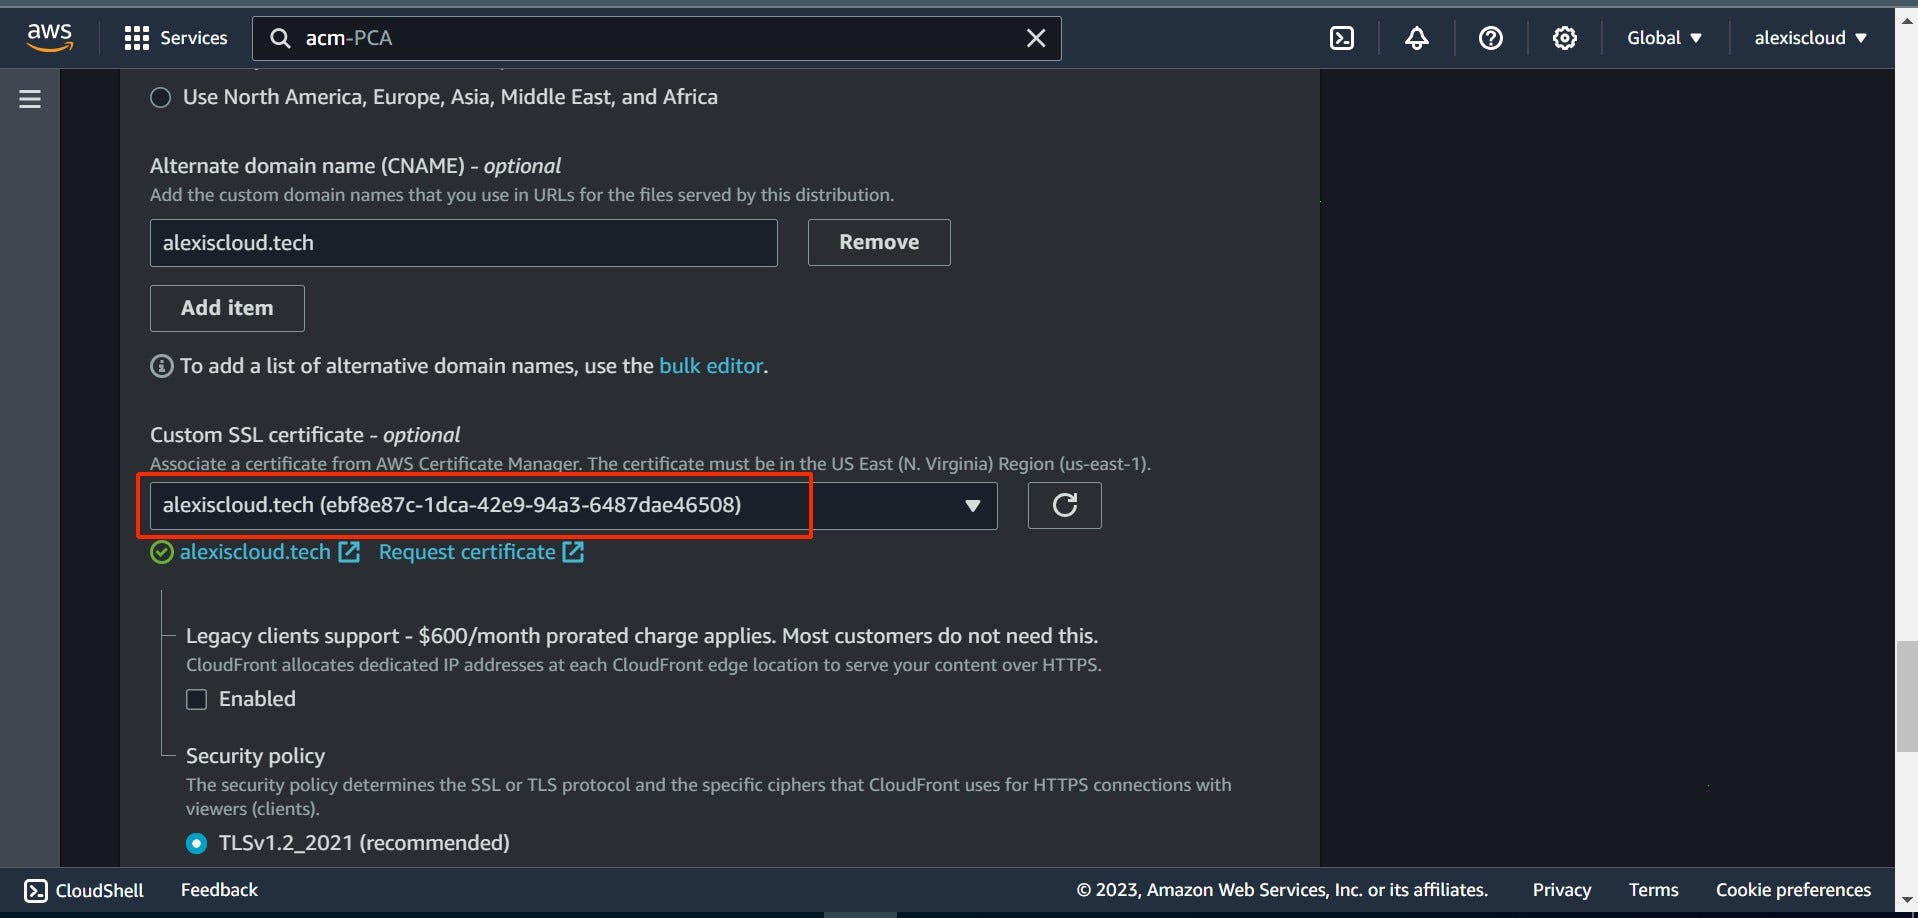
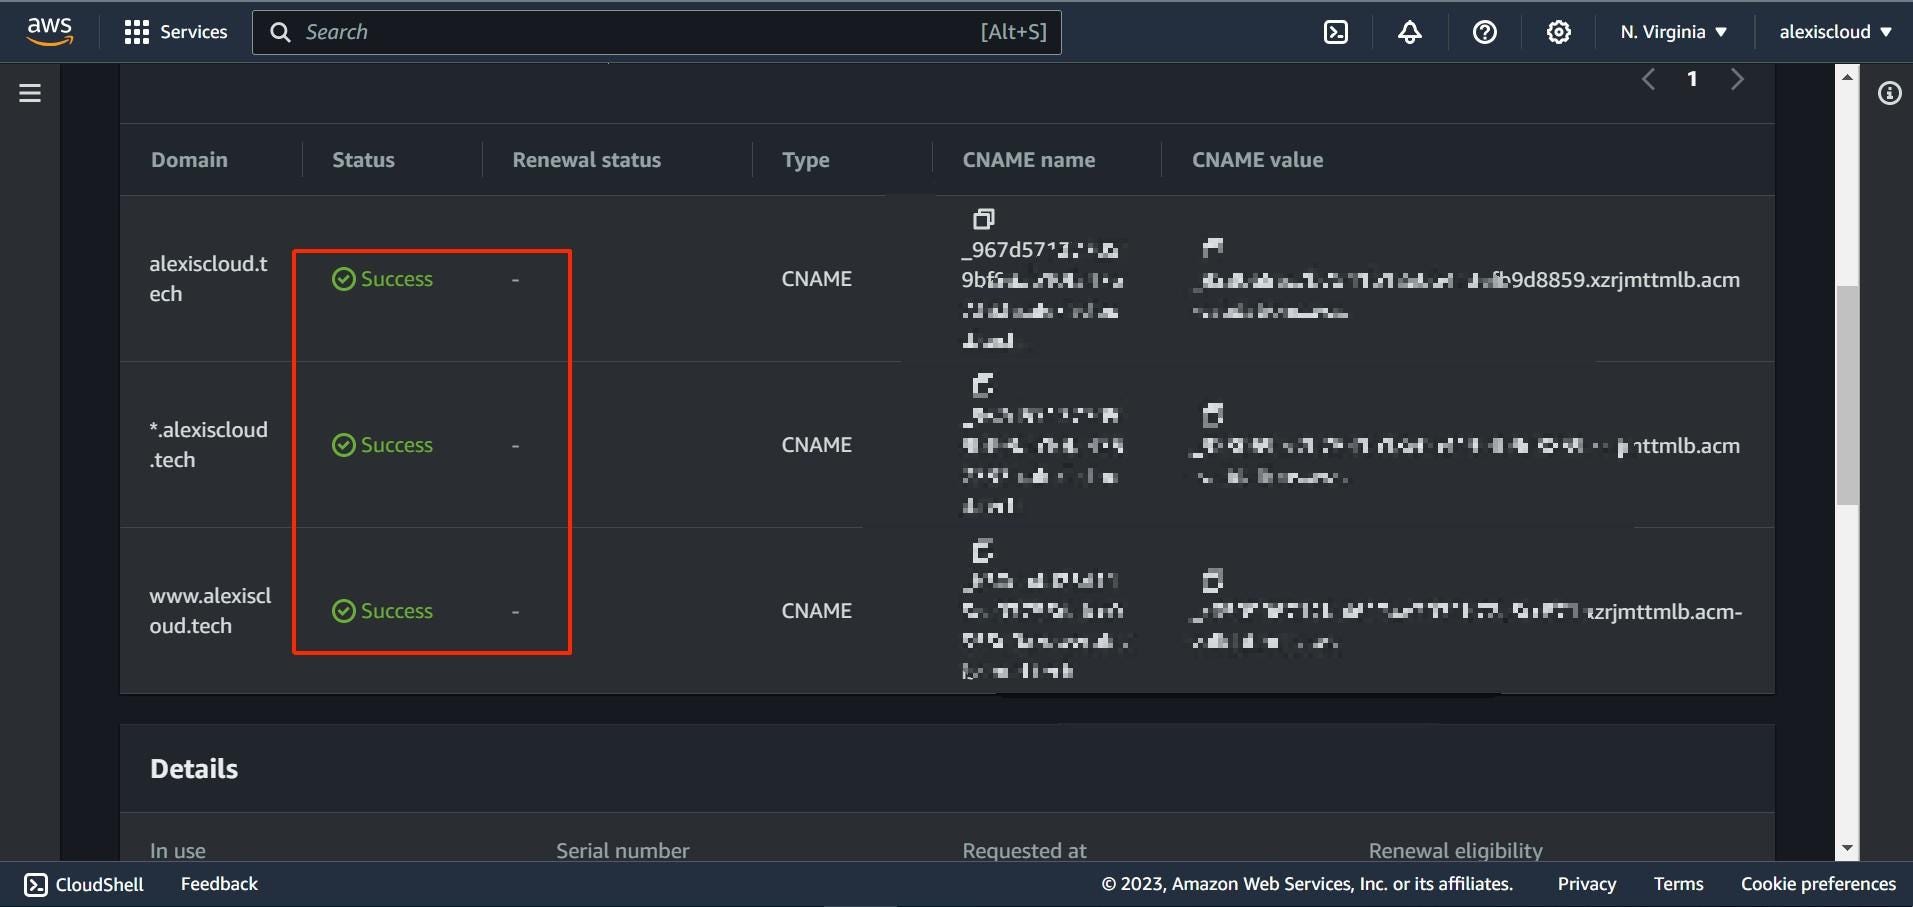
Step 4: ACM Request

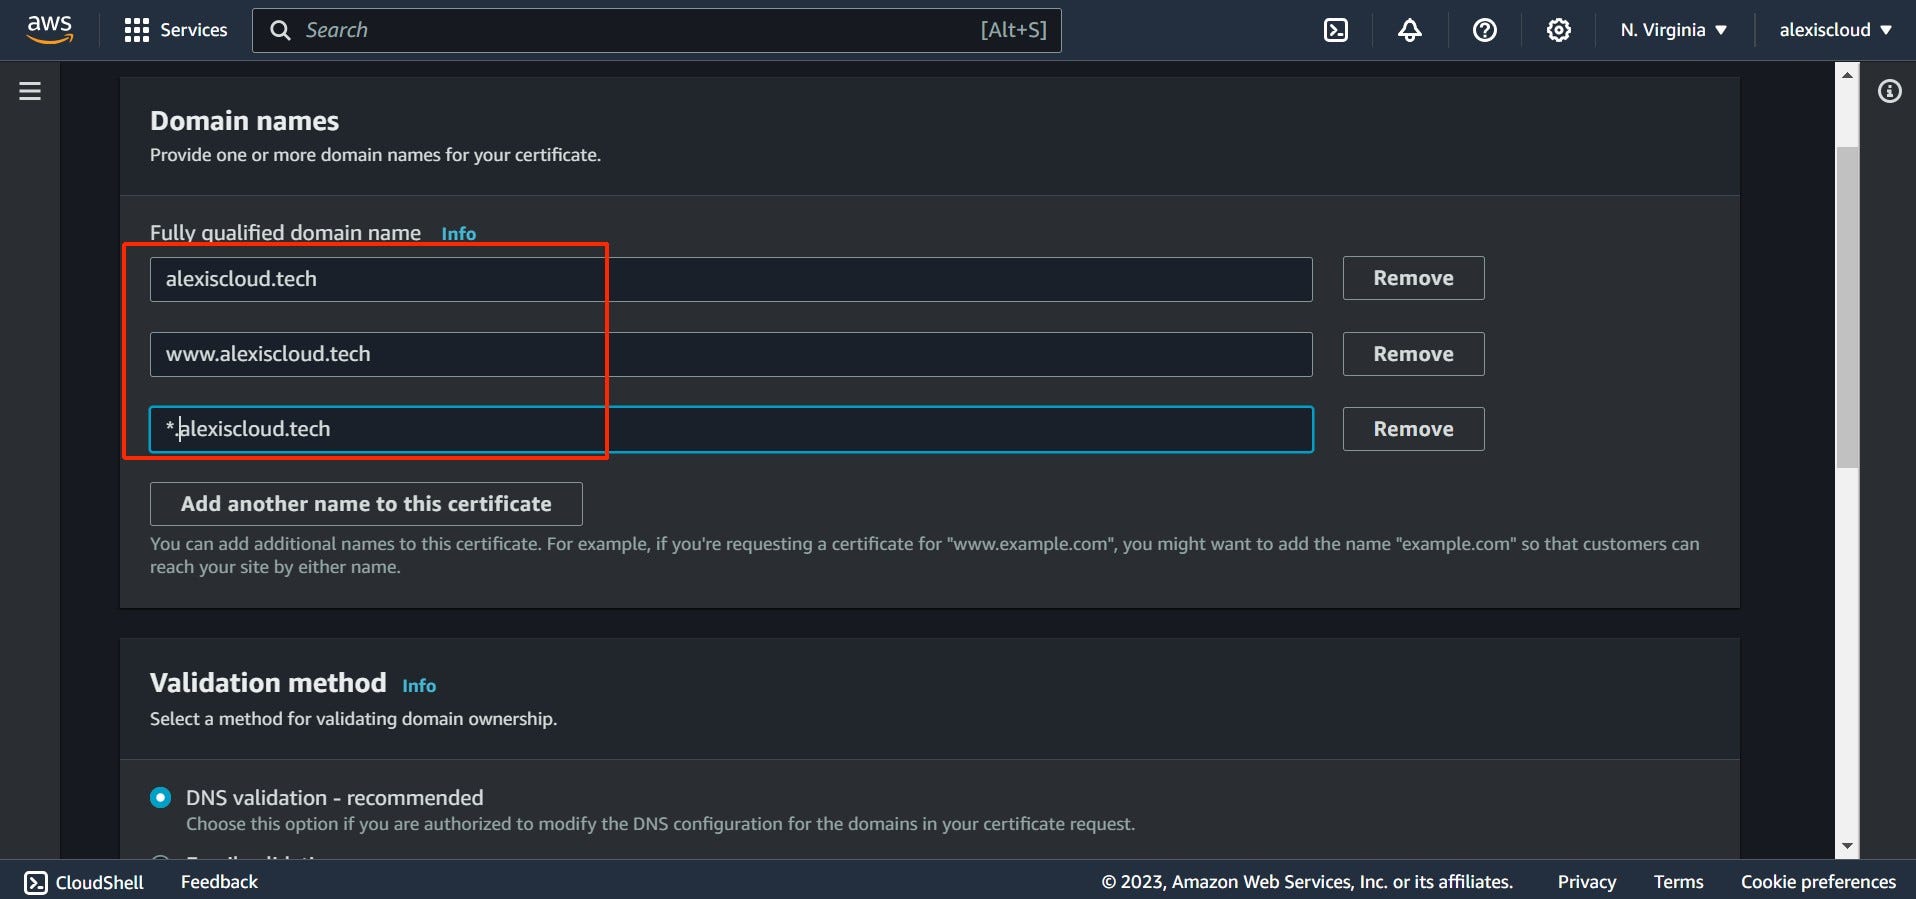
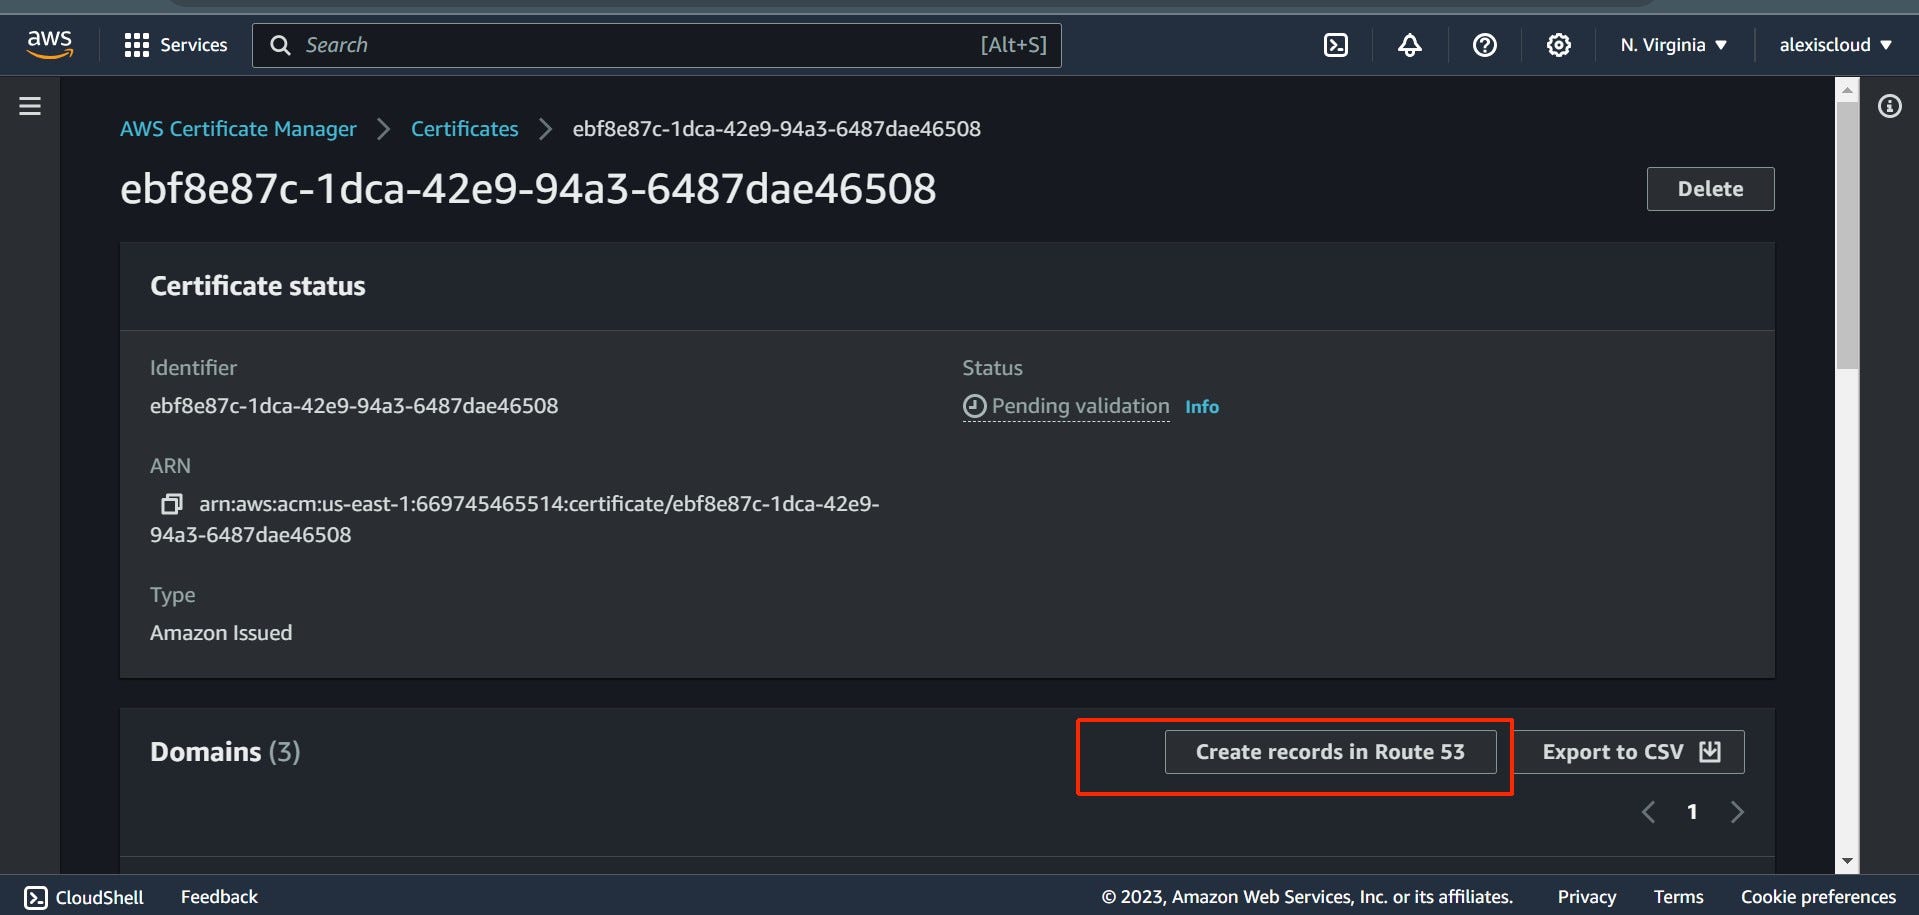
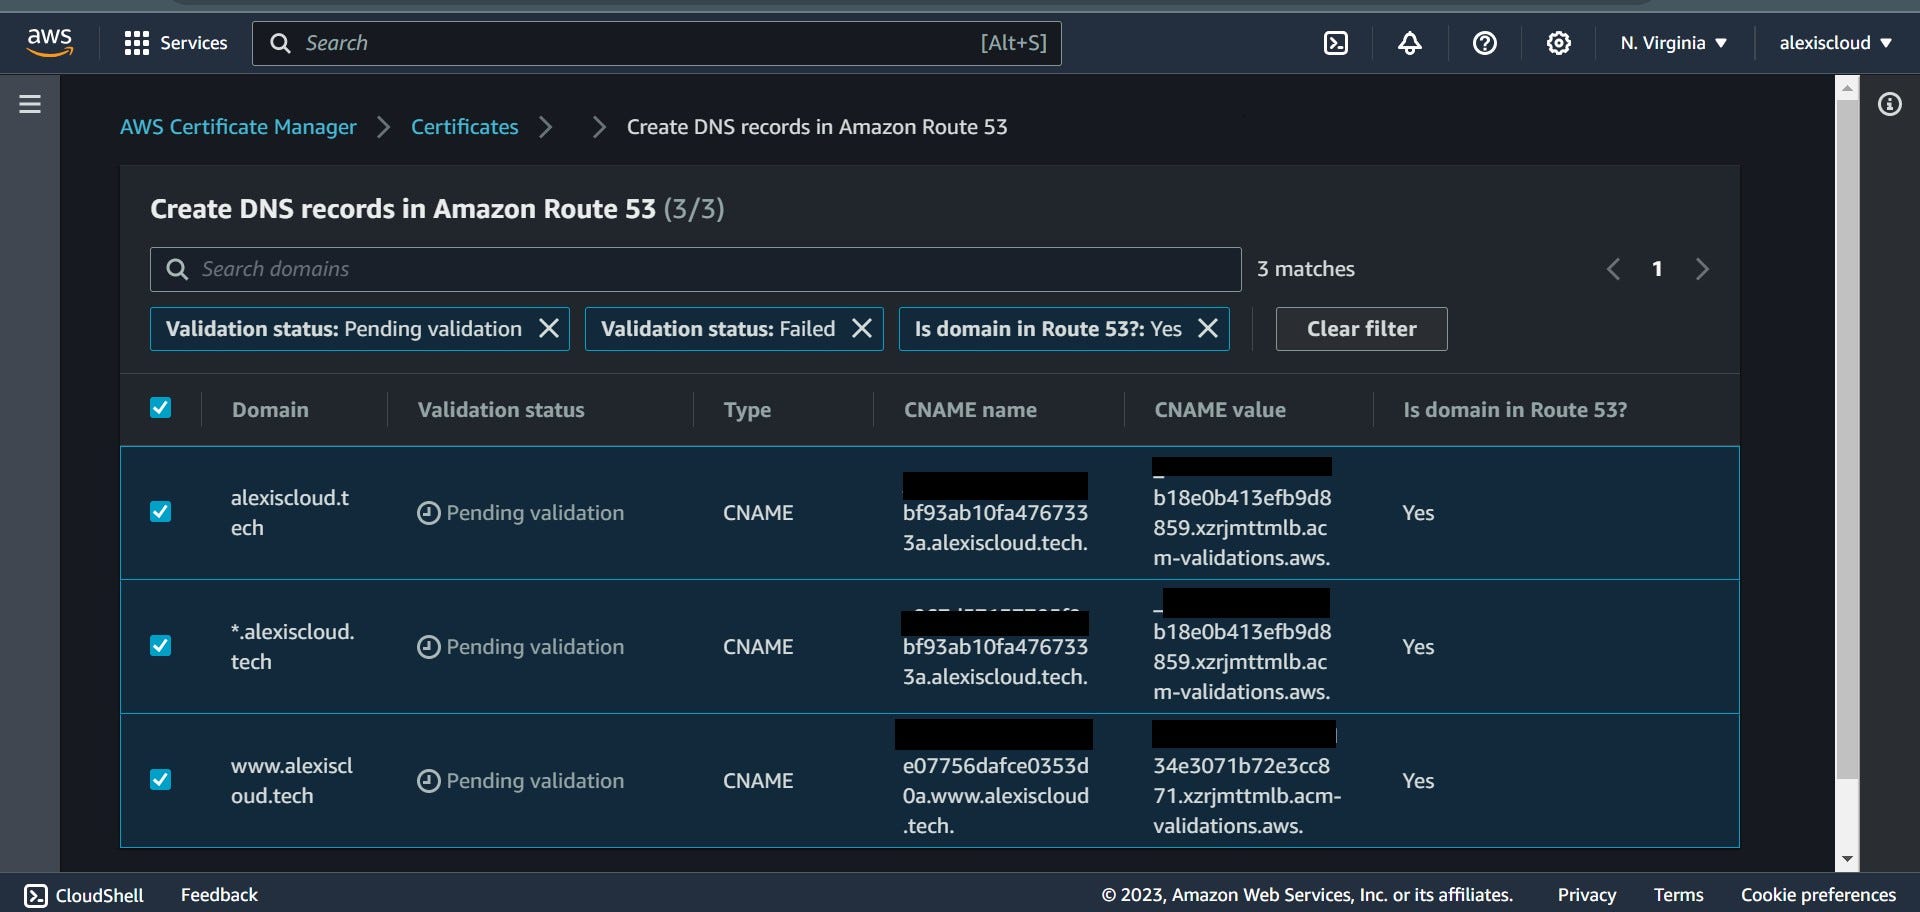
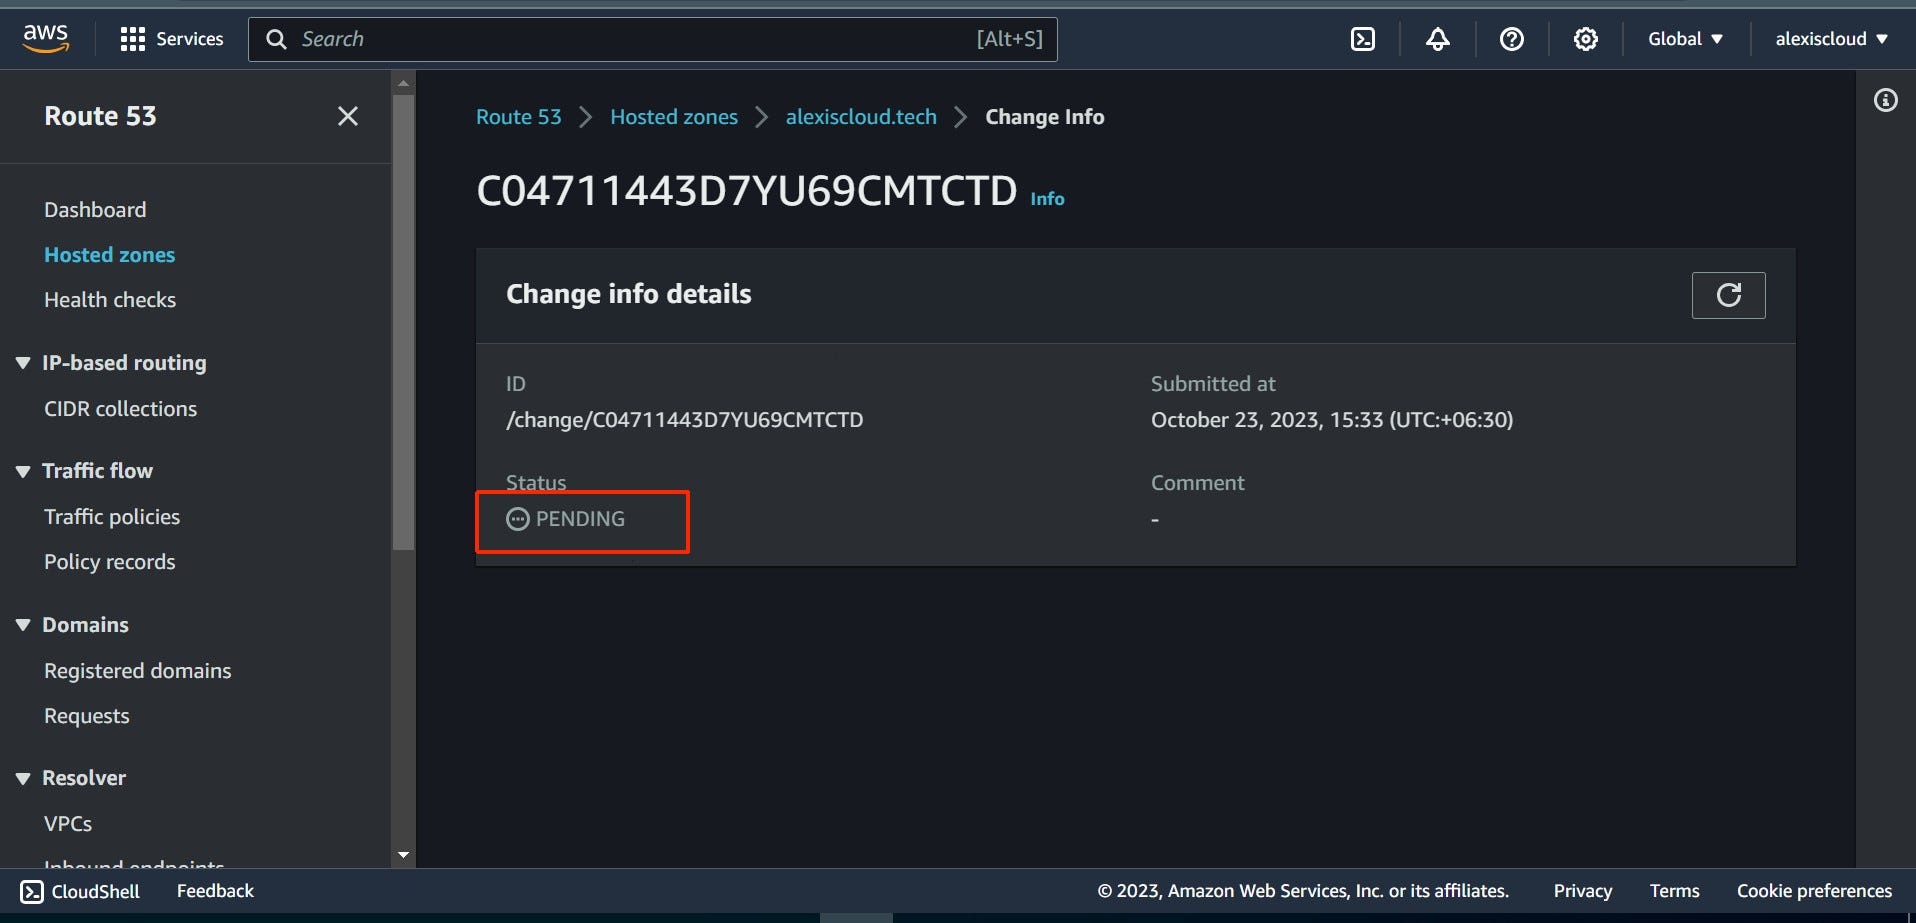
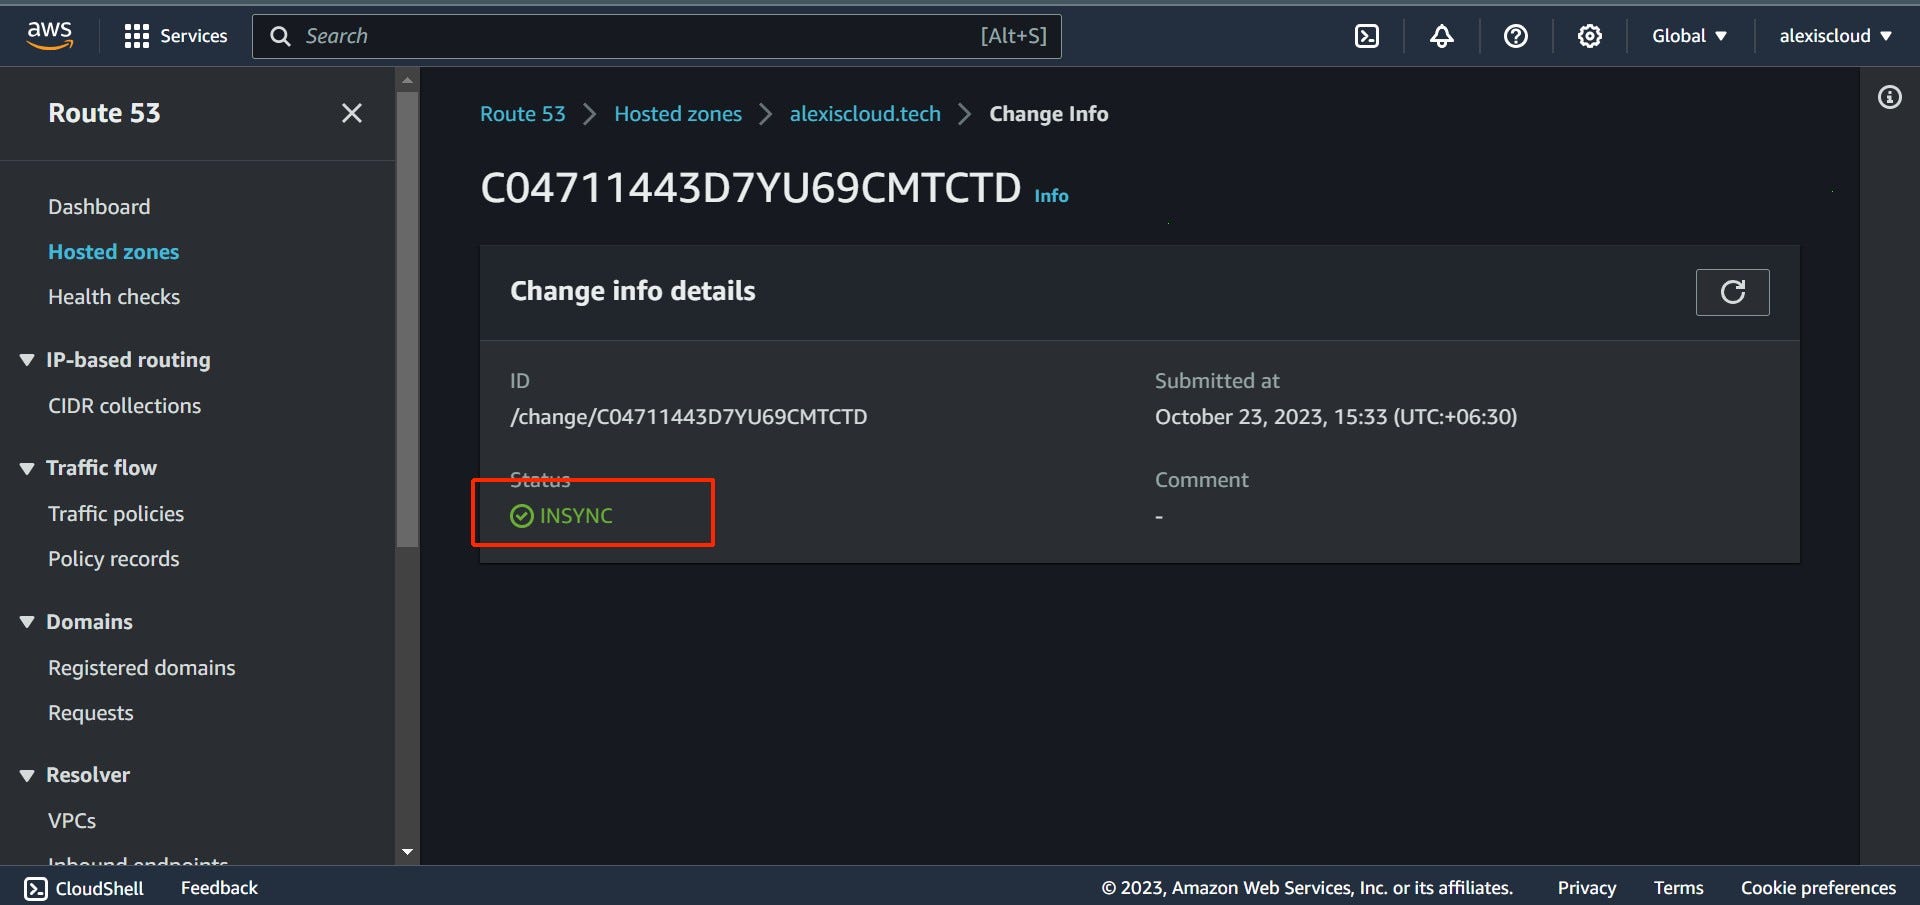
Step 5: Configuring Route53 DNS
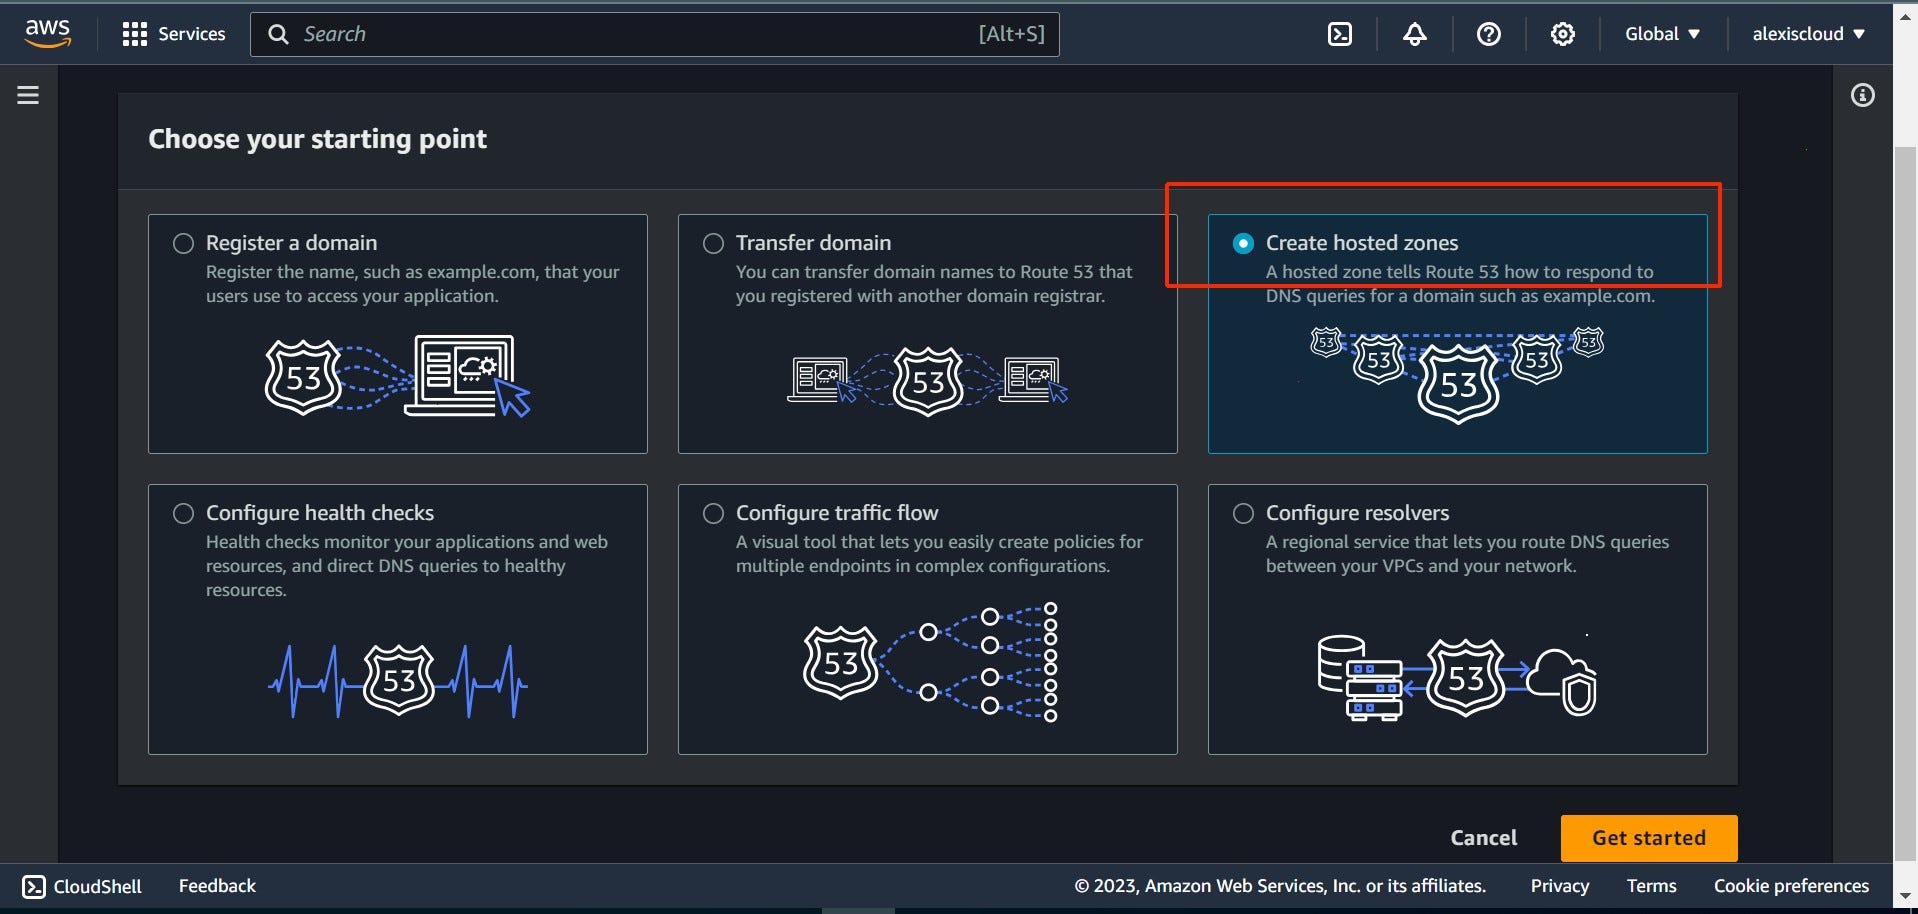
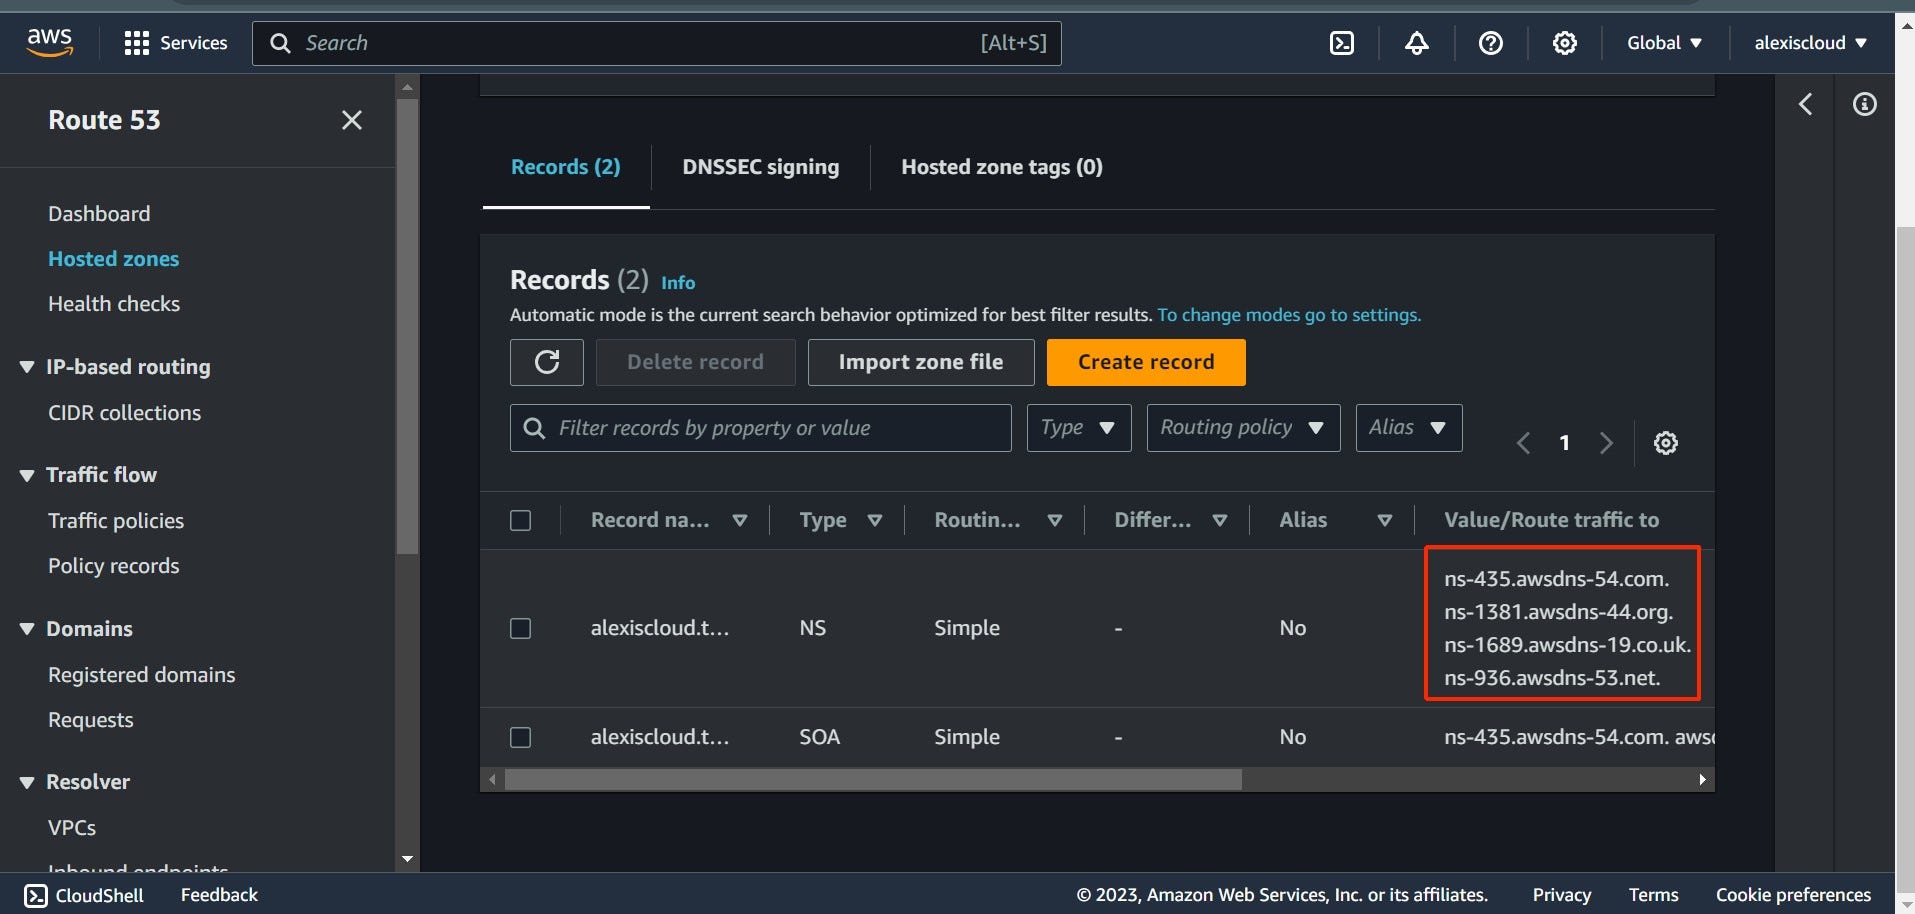
Route53, Amazon’s DNS service, ensures your domain points to your website.
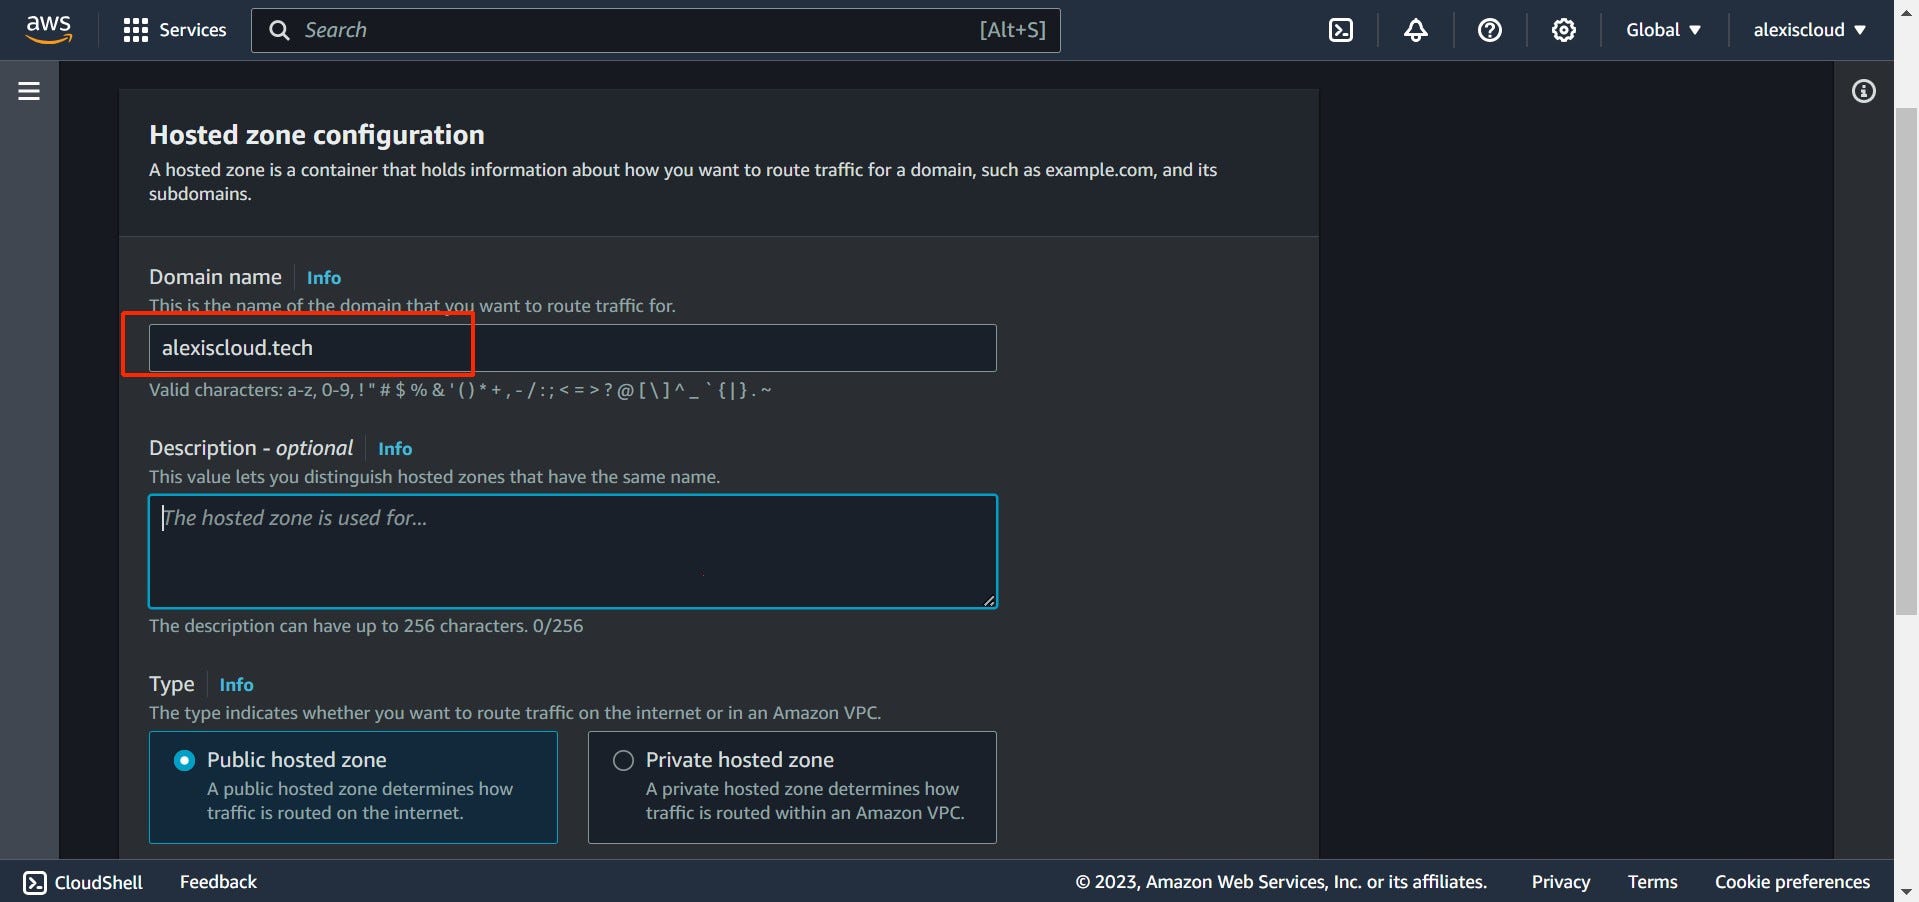
Register your domain with Route53 (a Hosted Zone will be created automatically).
Open the Route53 dashboard.
Click on the Hosted Zone linked to your domain name.
Add an “A” record pointing to the CloudFront Distribution domain name.
Save your changes.

Your static S3 website is now ready to be accessed using the domain associated with it. You can see an example website created for this challenge at https://alexiscloud.tech to visualize the result of your efforts.
By completing this first part of the Cloud Resume Challenge, you’ve gained the skills to build a static S3 website, enhance content delivery with CloudFront, and configure Route53 DNS for a custom domain. Your website is live and ready for visitors. Congratulations!
